So I was watching my Youtube subscriptions today and there was a new video from ShayLoss. For those who have never seen his videos, its a channel of this guy named Shay who used to be really obese and now hes lost a bunch of weight. He gives tips for healthy living and weight loss, etc. He is not a vegan, but he gives good advice. His video today was a recipe, click HERE for the video, but warned though its 23 minutes long. The gist of this video was a recipe for a quinoa salsa/taco filling sorta thing. It was good sounding, but you know me, I had to change it a bit. It tasted SO good I knew I had to share. So please try this. Everything you need for it is in season right now!
Ingredients:
2 cups white quinoa, rinsed VERY well
3 cups water
3 large tomatoes , diced
1 medium bell pepper, diced
1 medium white onion, diced finely
1 bunch cilantro, minced
1 hot pepper (optional), minced and seeded
3 tablespoons garlic, minced finely
1-2 limes, juiced
1 can chickpeas, rinsed VERY well
2 tablespoons grapeseed oil
2 tablespoons sesame oil
2 tablespoons low sodium soy sauce (no more than 20% sodium per tablespoon, less is better)
1 tablespoon cumin powder
Directions:
Start out by rinsing your quinoa very well. The easiest way to do this is use a large bowl and place the quinoa in it. Fill with very warm/hot water and use your hands to kinda squeeze the quinoa. Don’t worry, you won’t hurt it! Drain the water by slightly tipping the bowl, I do this over a fine mesh strainer in-case I spill some. Repeat this until the water is clean and the qunioa does not feel slimy or has lots of bubbles.
Bring your 3 cups of water to a boil in a larger sized pot with a lid. Add in your quinoa when the water is vigorously boiling. Stir well to ensure there are no clumps. Reduce the heat to a simmer (that’s a 2 or 3 on electric stoves). Cover with the lid and let cook for 5 minutes. Stir and recover. Let cook for 10 more minutes. Stir again making sure to scrap the bottom. If all your water has been absorbed, recover and turn off the heat and let set 10 minutes. If it still needs time to cook off the water, give it 5 more minutes. (after a total of 20 minutes, if you still have water left, you’ll need to strain it because you probably added too much, don’t worry its still fine!)
While your quinoa is resting for 10 minutes, prepare all your other ingredients. Keep in mind you want your veggies in smaller sized pieces. Core your tomatoes and dice them. Seed a bell pepper and finely dice. Mince a medium onion or thinly slice. Mince your garlic and wash in warm water to remove bitterness. Finely mince your cilantro, I choose not to use the stems since they are tough, but you can if you want. If you want a little extra flavor, add a FINELY minced chili pepper. I suggest removing the seeds, but if you want super spicy you can leave them in. I used a Fresno pepper, they’re red in color and have a nice spice and flavor. Open a can of chickpeas and rinse them very well, there should be no bubbles left and no slimy texture.
After your quinoa has rested, add all your prepared vegetables. Stir well and break up any clumps of quinoa. Now juice your limes into the mixture. I used a HUGE lime (it was the size of a lemon, no joking!) so I only needed one, however you might need two. Taste as you go and adjust the flavor. Stir well again.
In a small bowl, add your oils, soy sauce, and cumin powder. Whisk this together well and then add it into the quinoa. Stir VERY well. This is your sauce so you want to ensure you get it on all the pieces.
Try it now, if it needs more salt, add more soy sauce or use coarse salt. If it needs more tangyness, add more lime juice. Serve warm with tortillas or chip. OR Serve cold and mix with lettuce or cooked pasta for a new flavor.
I honestly have no clue how much this makes since I didn’t measure it, however I ended up with a large dutch oven full of it! I’m guessing around 10 cups. This is an amazing recipe and I think one that everyone should try, even if you’re not sure about the quinoa. If you cannot find quinoa for some reason I would suggest trying this with couscous if you can eat gluten or buckwheat groats if you cannot. The nutritional information is for quinoa and all the ingredients listed above. Serving size I gave was 100g, however in the picture above that is a small 5 inch plate with 312g on it. While it still does have fat added to it, its far less than the original recipe and honestly it adds to the flavor. I ate this with a little bit of chipotle salsa on-top. Enjoy! (and yes, as you can see this is a kitty approved recipe!)
(click on the image to enlarge, this is my actual receipt with personal stuff blocked out)
Today I went grocery shopping at walmart and got just a few items. As you know I’ve been doing a low fat high carb raw vegan challenge. This grocery haul reflects that. This will be my food for the week.
51 pounds of bananas (29 cents a pound)
14 pounds of peaches (99 cents a pound)
15 pounds of tomatoes (69 cents a pound)
a 15 pound watermelon (1.98)
In total, only cost me $32.96! Pretty cheap for one week huh. Yes I have leftover avocados from last week’s haul and I do have 3 large heads of lettuce in the fridge, however I’ll probably just eat what you see in the video.
Do you miss pizza because you either can’t find a decent vegan pizza or because you’re on a diet? Well no more my friends, this pizza is lower calorie than traditional pizza, lower in fat, and completely vegan! If you have gluten issues, please see my gluten free pizza recipe and use the crust, or use your own. This recipe is for 3 personal pan size or mini size pizzas. These will feed 3 grown people easily.
Ingredients:
1 whole recipe – Basic Whole Wheat Pizza Crust
1 whole recipe – Basic Marinara or Pizza Sauce
6 ounces nondairy cheese – I suggest Daiya half mozzarella half cheddar
your choice of toppings, I suggest:
1 bell pepper, sliced thin
1 tomato, sliced
spring onion, minced
vegan pepperoni sliced – Yves makes a great tasting brand at only 50 calories per 10 slices too!
Directions:
Preheat your oven with your pizza stone at 425 for at-least 15 minutes. If you’re not using a pizza stone, only preheat until your oven is hot.
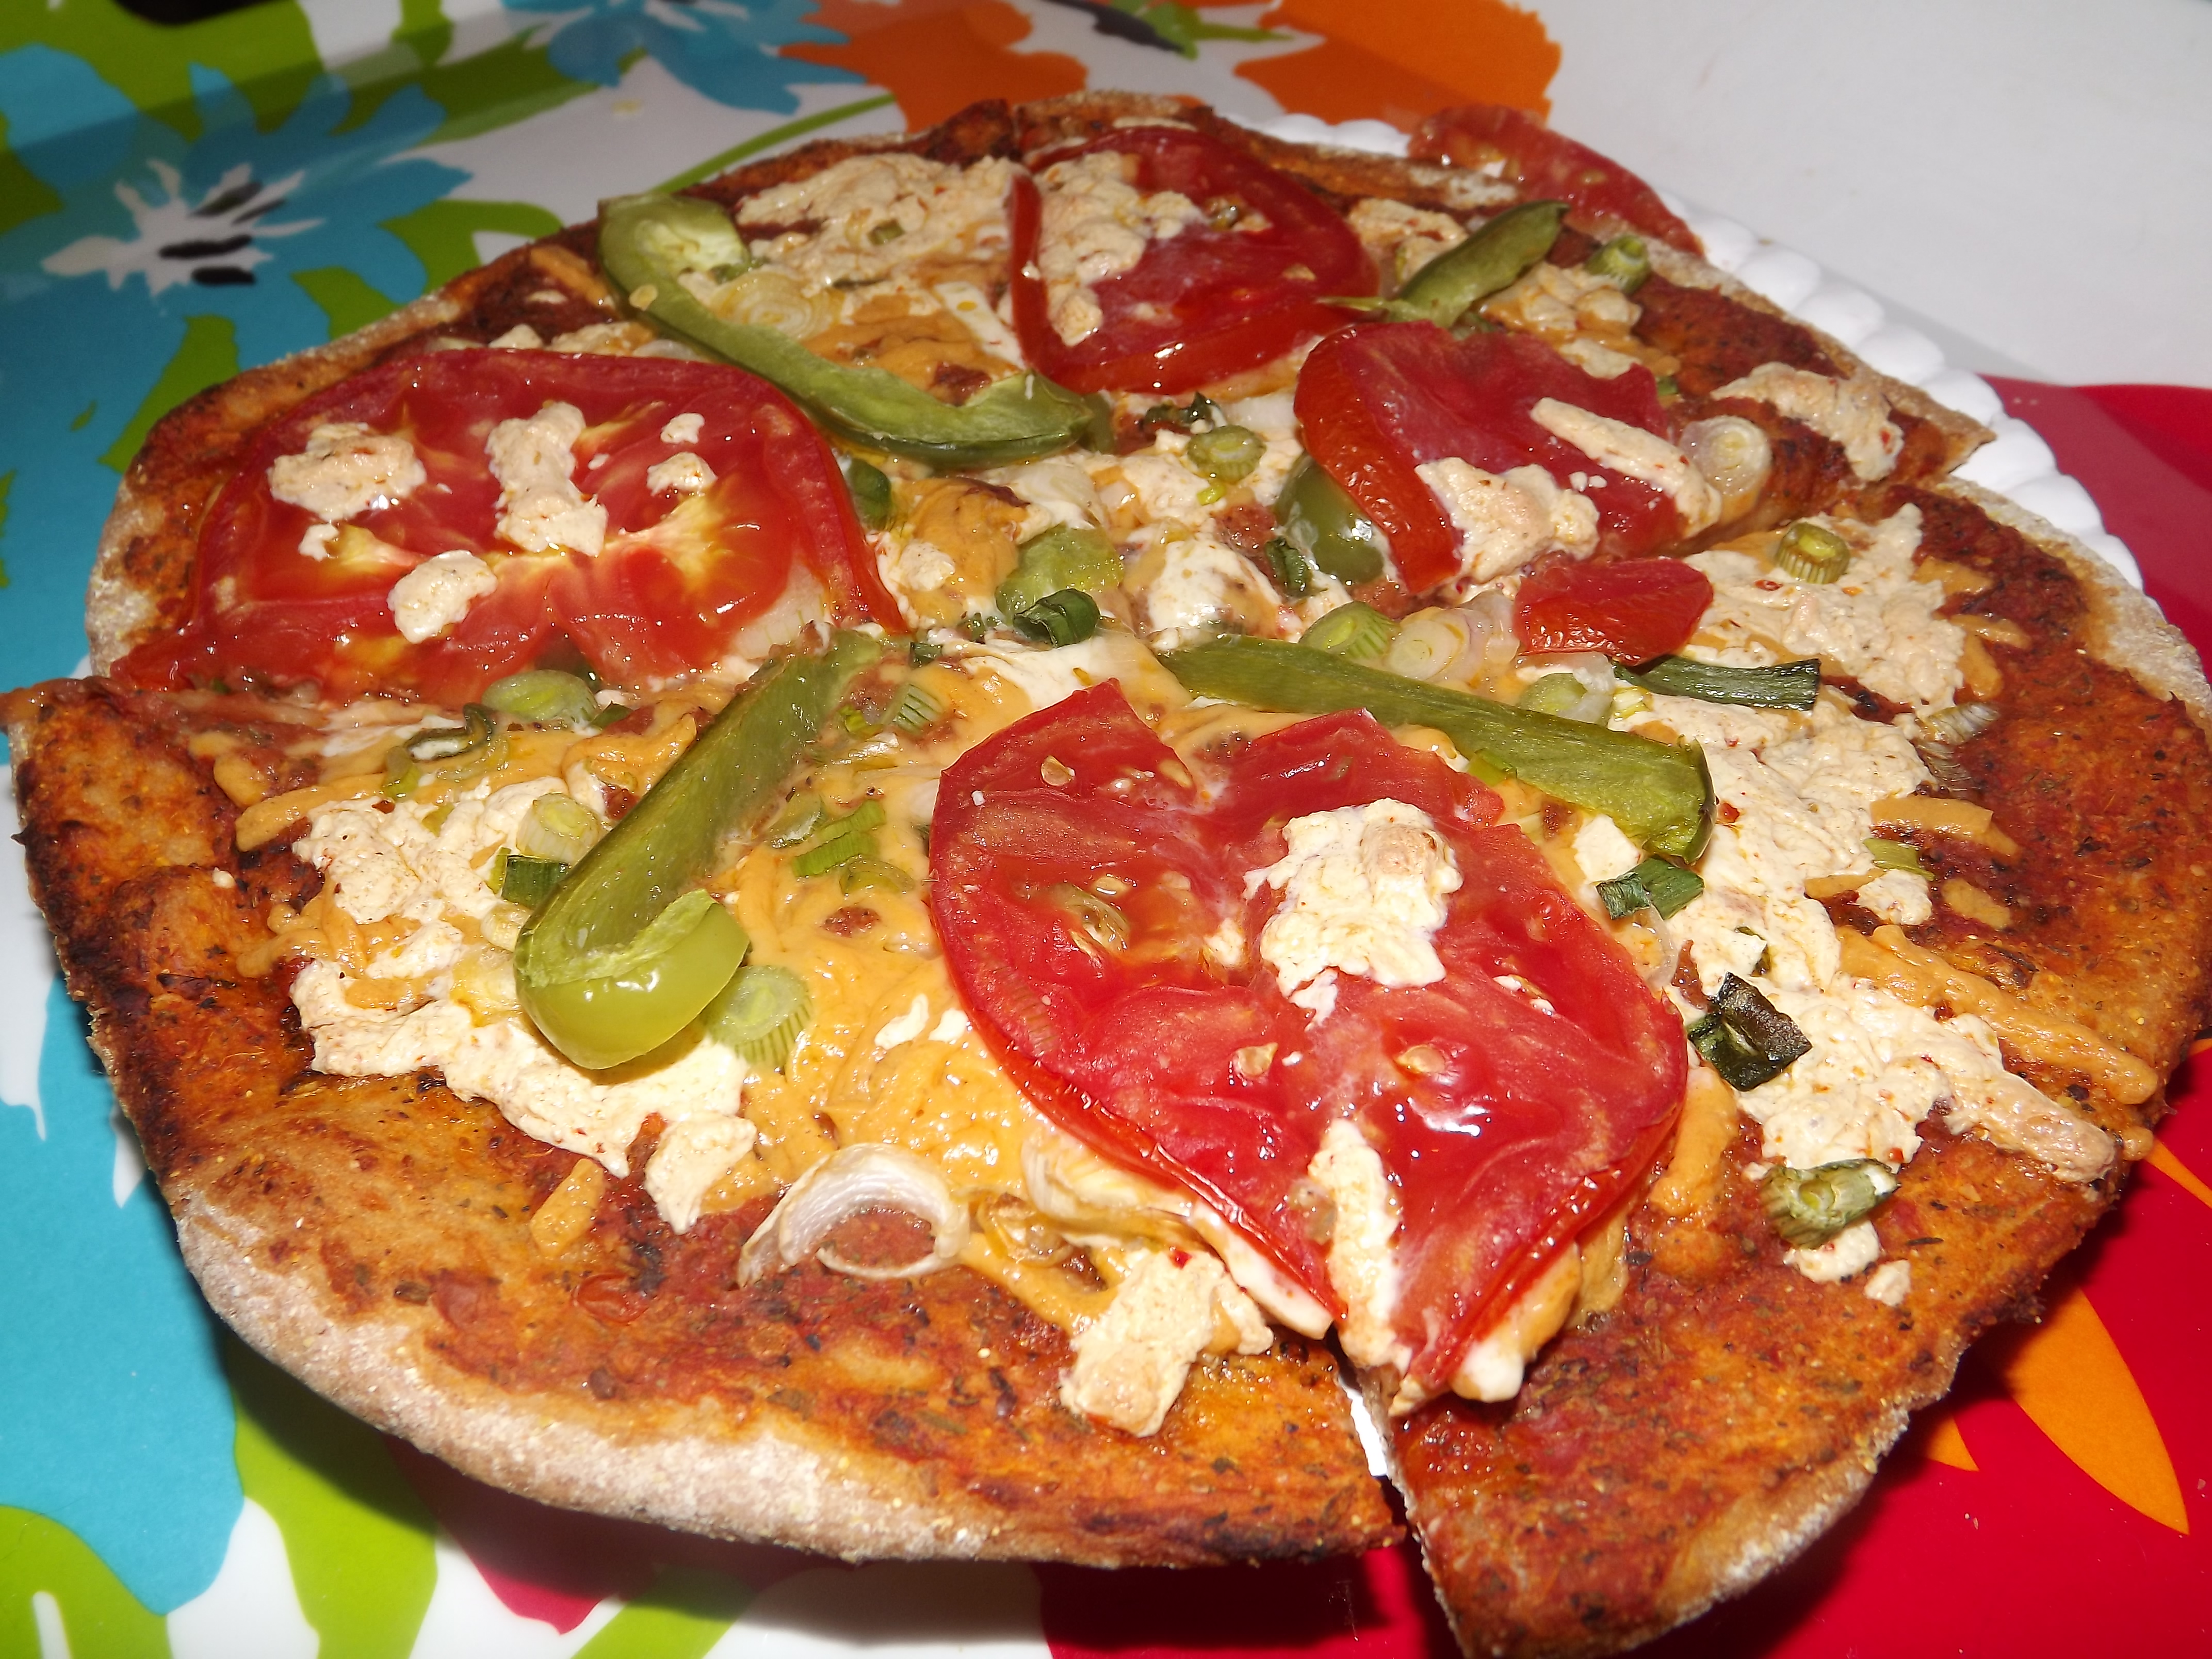
Divide your pizza dough into 3 equal pieces, and roll to your desired thickness. I choose a medium-thin style crust that got real crispy when baked. Rub corn meal into the pizza crust and flip over. If you’re using my pizza crust recipe, there is no need to prebake, otherwise follow directions that come with your crust. Spread 1/3rd of your pizza sauce onto the dough. For a traditional look, leave a ring around the outside of the crust, otherwise spread the sauce to the edge to help with drying and add extra flavor. Now spread most of 2 ounces of daiya cheese on your pizza, I left just a little bit for the top of the pizza. Arrange your desired toppings on your pizza. As you can see in the photo, my personal pizza was half veggie pepperoni, and half tomato. Don’t be afraid to mix and match your desired toppings!
Assuming your oven is hot, transfer your pizza on the stone (or pan) and bake. Time will vary and I suggest you start checking on the color of your crust at 15 minutes. A deep golden color will tell you if its done or not:
Remove from the oven and cut into 4-6 pieces and enjoy. This recipe makes 3 mini size pizzas , although they aren’t that mini. If you make a pizza like the one shown above it will have about 540 calories. If you use different brands of cheese of faux meat products, calories will vary. Also keep in mind the typical pizza has almost 1000 calories in it. Enjoy!
Never feel the need to purchase super salty, preservative ridden pizza sauce again when it’s this easy to make it at home. This makes enough for 1 large pizza or 3 mini/personal size pizzas.
Ingredients:
1 15oz can fire roasted tomatoes
1/2 tablespoon Italian seasoning blend
1 tablespoon oregano
2 tablespoon ground flax seeds
Directions:
In a blender, add your can of fire roasted tomatoes, and your seasoning. Blend until you get your desired consistency. Then add in your flax seed as your blender is running, this way it won’t clump up. Let set for at-least 5 minutes then its ready to be used on pizza or as a marinara dipping sauce. Its really easy and fresh! Enjoy!
Nutritional information will vary depending on which brand of tomatoes you use, and how much salt is in them. Try to use low or no sodium tomatoes packed in juice. The flax seeds add little fat and lots of omega fatty acids which we can all use more of =)
In a food processor add 1 tablespoon yeast and sugar. Add 2 cups of whole wheat flour and pulse a few times to mix the ingredients. After ingredients are mixed, turn food processor ON and slowly add your water until the dough comes together and pulls off the side of the bowl. You may need more or less than ¾ cup water so add very slowly. Once the dough starts to pull off the side of the bowl, continue processor about 1 minute. This step is important so you get the gluten developed and the end product is alot better. Now do one of two things:
If your food processor is like mine, where the center can be removed and the blade, remove them and put the dough back in and let rest for 60 minutes in a warm place or until doubled in size.
OR
If your food processor does not disassemble, put your dough into a LIGHTLY oiled bowl, preferably glass and cover with a some-what tight fitting cover (plastic wrap works if you have nothing else), let rise for 60 minutes in a warm place or until doubled in size.
After your dough has doubled in size, remove it from the container and roll it out to your desired thickness, I suggest using some corn meal (NOT corn starch/flour that's different) for dusting on your work surface to prevent sticking. When you get to your desired thickness, add cornmeal to the pizza by sprinkling it on and rubbing your hand in a circular motion to "grind in" the meal.
Flip the dough over onto your pizza stone or pan top with your desired sauce and toppings. Bake normal or 425 for about 15-25 minutes depending on thickness. Thin crust pizza tastes only about 15 minutes with toppings. Thicker crust may take 25 or more, depending. I do not know cooking time for deep-dish, no one in my family likes this type of pizza. Enjoy!
Notes
Makes enough for 1 large pizza, 2 thin crust or 3 mini pizzas.