Category: Sauces

Sauces; if it’s a sauce, you’ll find it here. This includes gravy and the like.

How to make ghee | The EASIEST Way

Ghee
 
Prep time
Cook time
Total time
 
Stop spending a fortune buying ghee from the store when it can be made at home in less than 30 minutes for a whole lot less!
Author:
Serves: 2 cups
Ingredients
  • 1 pound butter
  • 1 tablespoon water
Instructions
  1. Unwrap your butter and cut into smaller sized pieces, you don't have to do this, but it'll make the process a little faster. Add your pieces into a stainless steel pot and put on the stove over medium.
  2. Using a metal spoon (note not plastic!), stir your butter until it is melted. Once it melted and there are bubble starting to come up, turn your heat down to low. If the bubbles are too big, you will need to turn it down further, until they are similar to the video.
  3. Set your timer for 20 minutes and walk away... yes walk away. We don't need to skim the milk solids off (although you could). As long as you use a large enough pot on a low heat so you won't boil it over, you don't need to watch it.
  4. After 20 minutes, if the milk solids seem nicely separated go ahead and add about 1 tablespoon of water to this mixture and stir. Don't be concerned when it starts to make loud popping sounds, this is normal. Cook for another 2-5 minutes to ensure the water is all boiled off. If you like a more nutty roasted flavor in your ghee, continue to cook 5-15 more minutes keeping close eye on it. Ghee will go from perfect to burned in a matter of seconds once it hits a certain point.
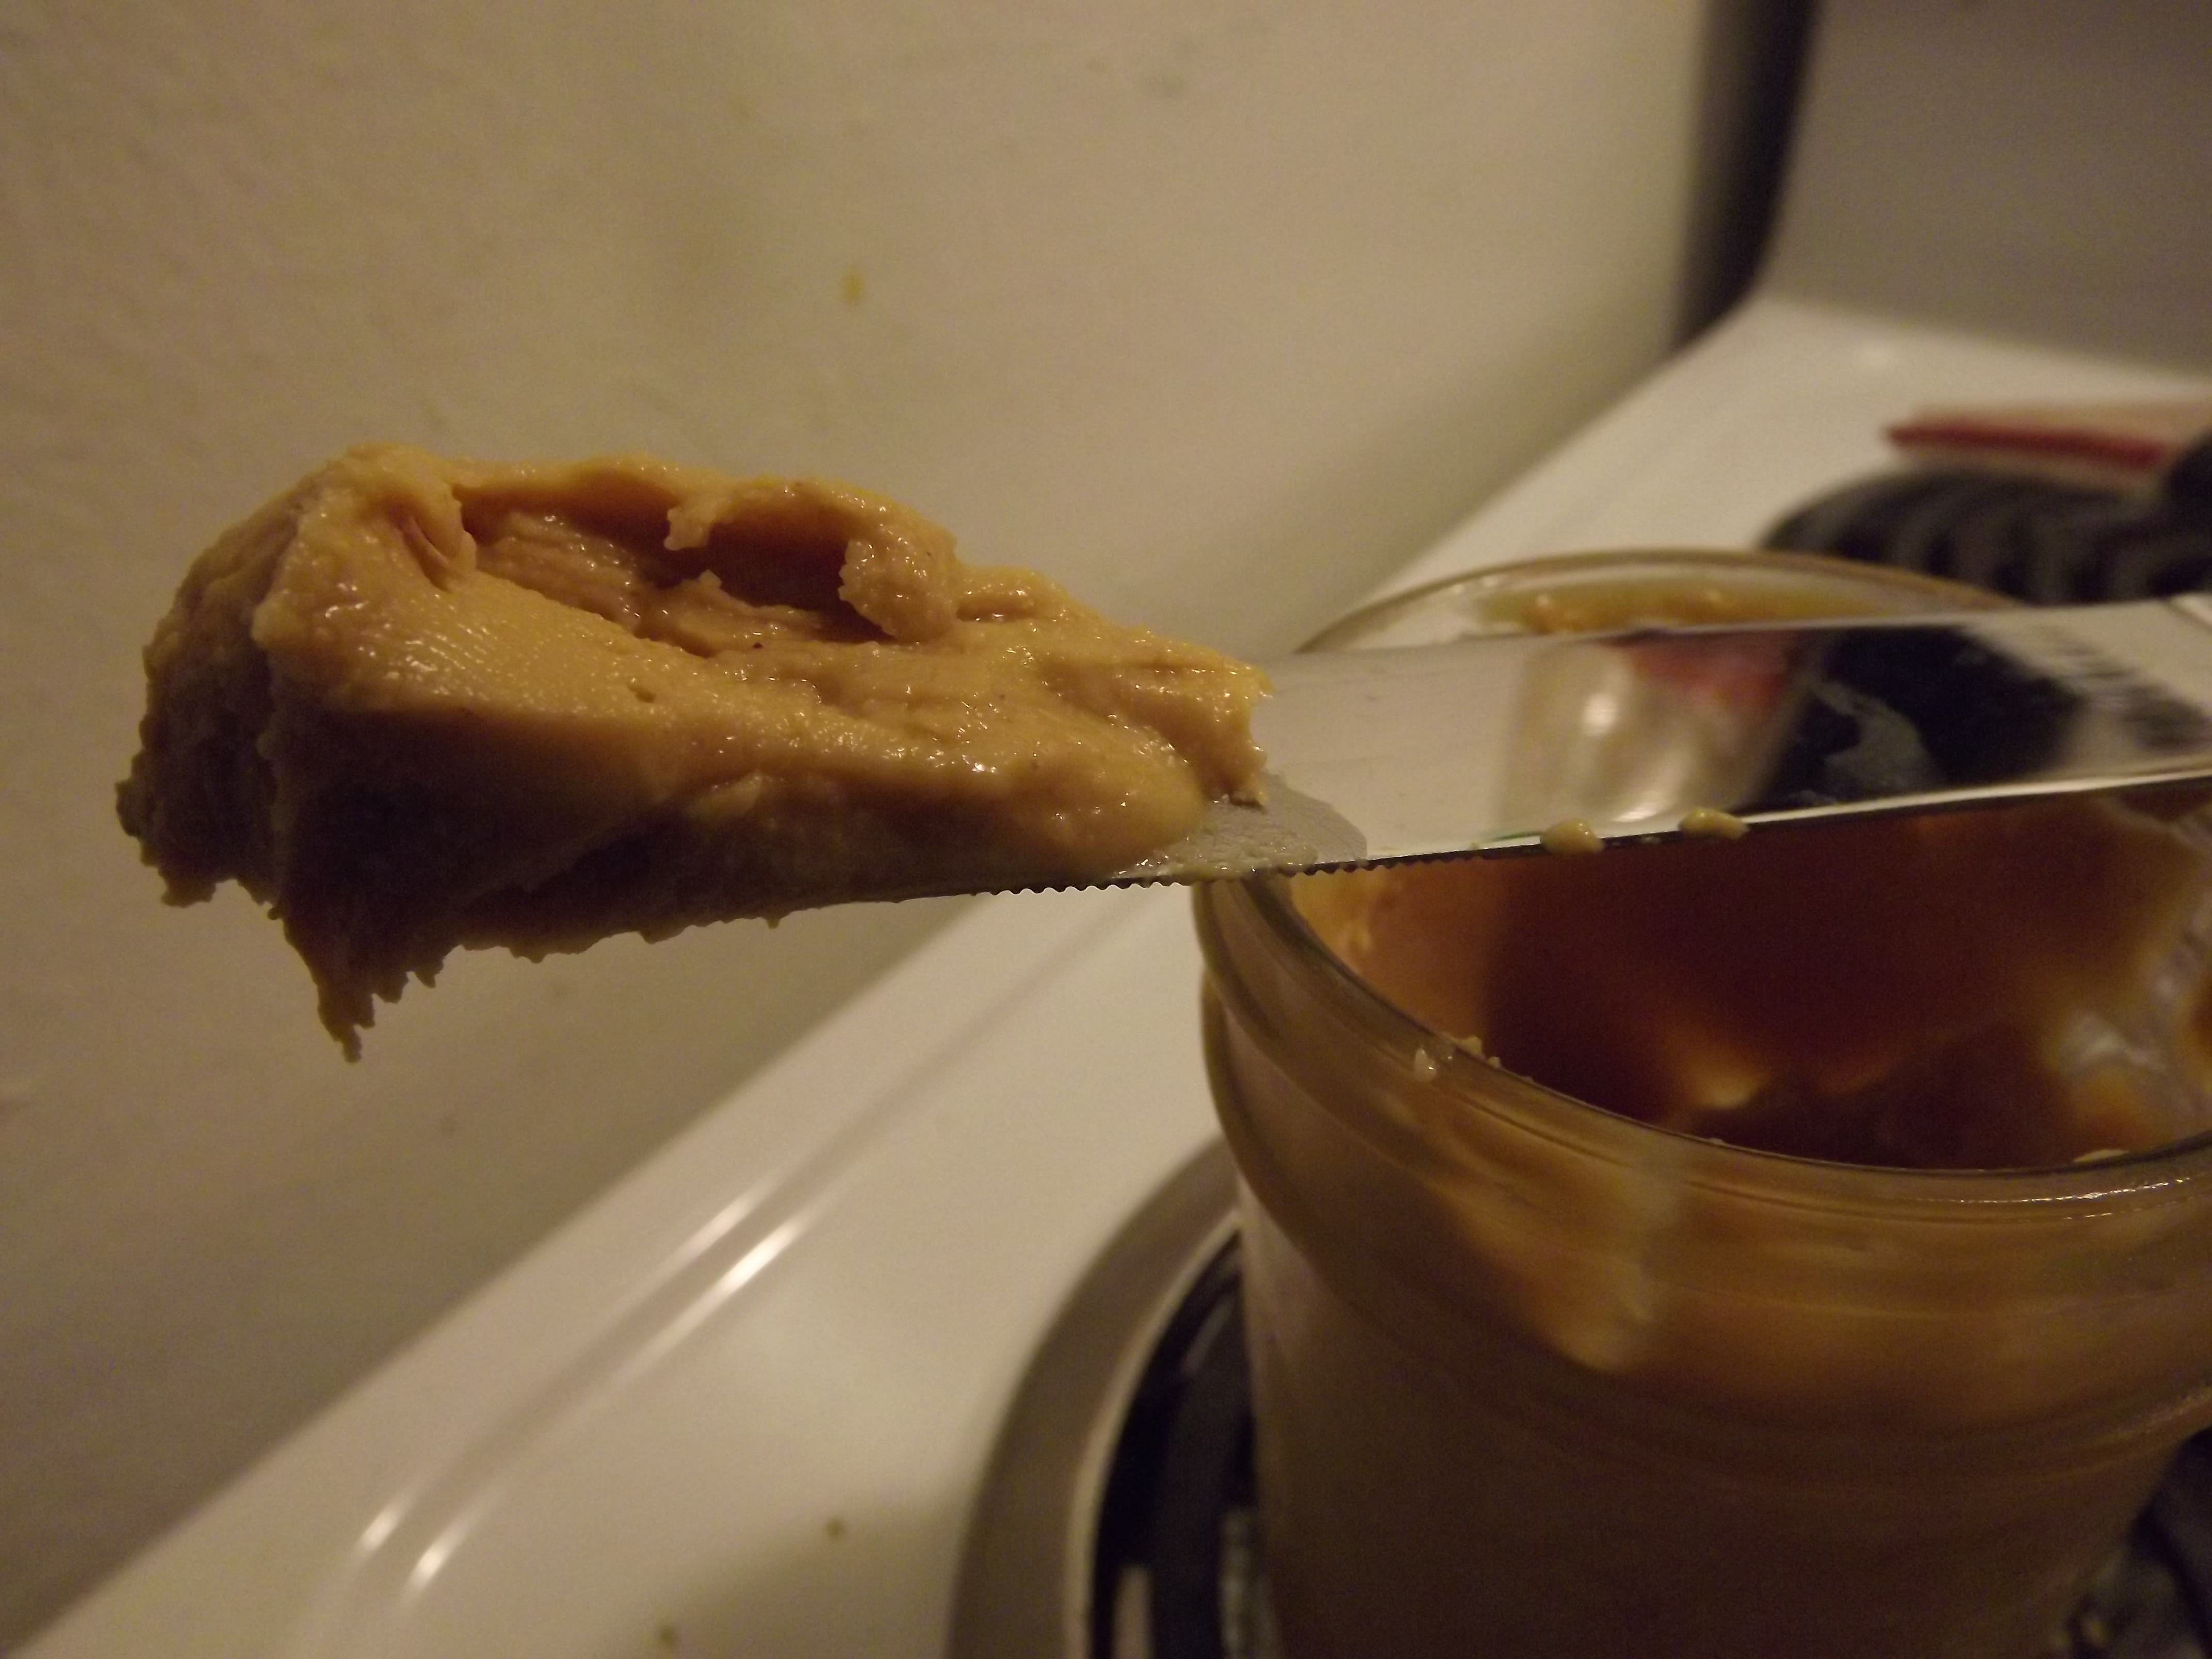
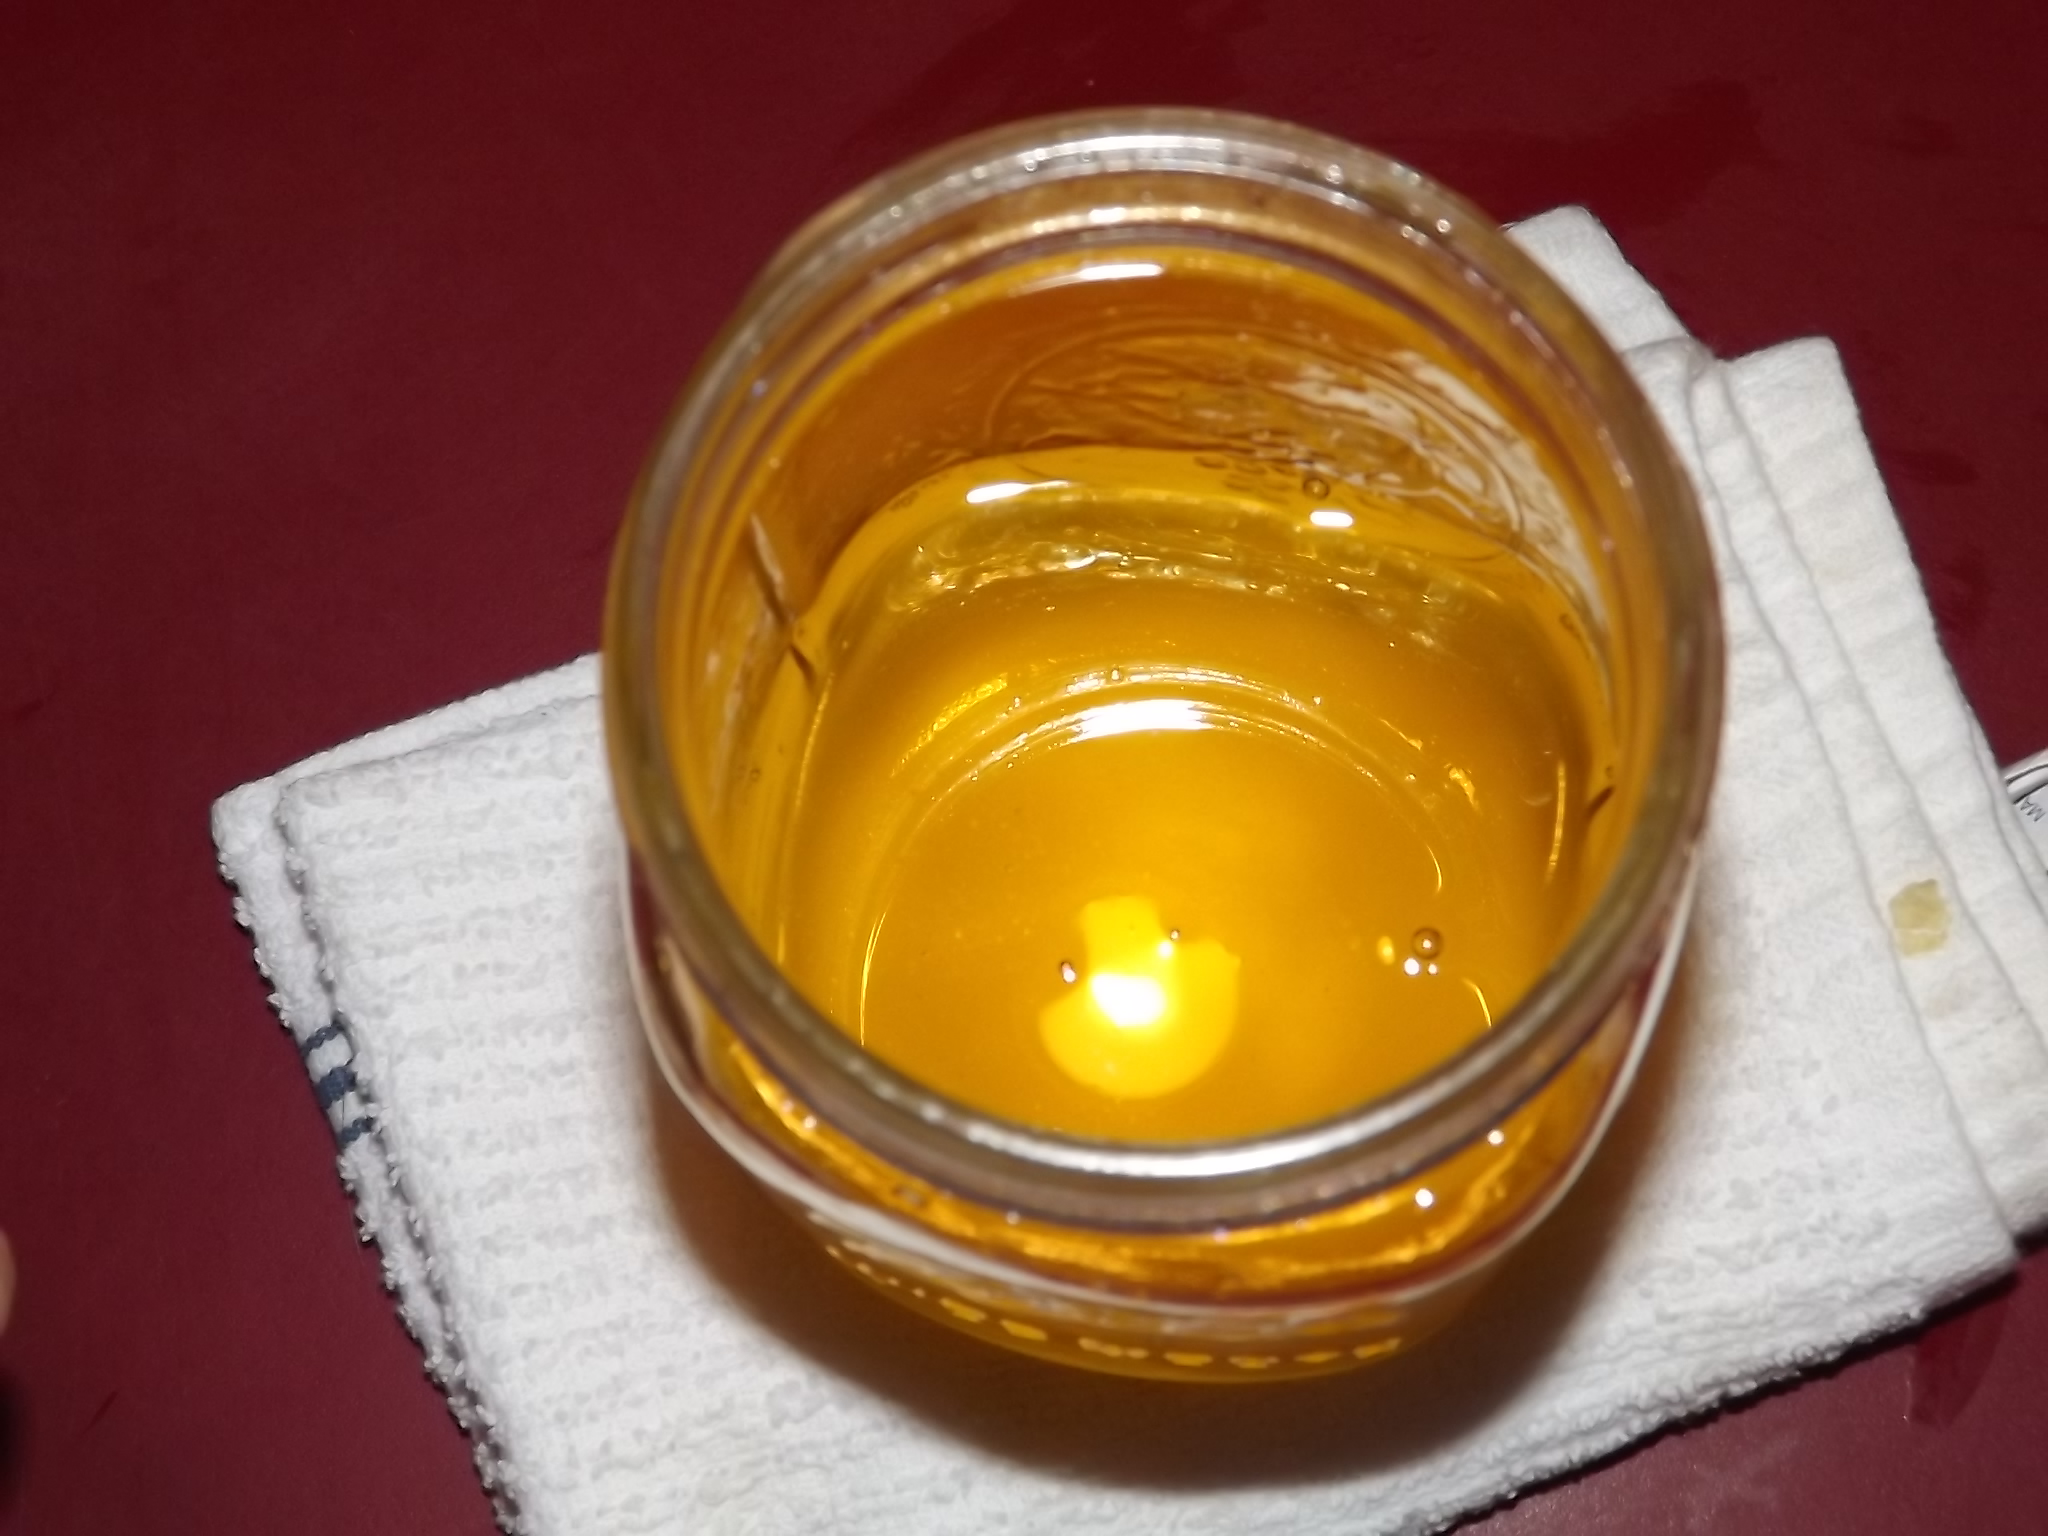
  5. Let your ghee cool off for 5-10 minutes to make it safer to strain. Strain through a fine mesh strainer, paper towel, cheesecloth, or anything you have that will catch the milk solids. I suggest you use a glass container with a tight fitting lid. DO NOT USE PLASTIC. Plastic will leech out a nasty flavor over time into your ghee, plus you could melt it... never a good idea.
  6. Congratulations! You made ghee and saved yourself a lot of money over buying it!
Notes
Contrary to what some people say, you CAN use salted butter. I use salted Kerrygold butter and it gives the final product a slightly salty flavor and a grainy texture.

Ghee is shelf stable so you don't have to put it in the fridge. You can if you want, but there is no point. It should last anywhere between 3 months and 1 years in an air-tight container, but try to use it as soon as possible for best flavor.

The quality of butter you use GREATLY effects the end result. Normal cheap store bought butter which looks almost white, has no real flavor and you'll notice it's probably a lot more water. Try to find a grassfed butter for this application.
Nutrition Information
Serving size: 1 teaspoon Calories: 45 Fat: 5 Saturated fat: 3 Sugar: 0 Sodium: 0 Cholesterol: 10
 

Pork & Shrimp Shumai w/ vinegar soy dipping sauce recipe


Pork & Shrimp Shumaiw/ vinegar soy dipping sauce recipe
 
Prep time
Cook time
Total time
 
A probably not very traditional pork and shrimp shumai recipe that is easy to make and very customize-able. Feel free to replace all or most of the shrimp with pork or another meat. Try chicken or lamb, skys the limit! They are lighter in flavor so feel free to double the seasoning if you prefer stronger flavor.
Author:
Recipe type: Appetizer
Cuisine: Asian
Serves: 42
Ingredients
Shumai
  • ½ to ¾ lb ground pork
  • 1 lb shrimp, raw shrimp is preferred but if you cannot find choose cooked shrimp that you have thawed for at least 24 hours
  • ¼ cup onion or 6-8 green onion
  • 1 tablespoon soy sauce
  • 1 tablespoon sesame oil
  • 2 tablespoons ginger, about a 2 inch piece
  • 1 tablespoon crushed garlic
  • pepper to taste
  • 1 tablespoon potato or corn starch
  • 30-60 circle style dumpling wrappers or cut square wrappers with a 4 inch circle cutter
Dipping Sauce
  • 2 tablespoons rice wine vinegar
  • 2 tablespoons soy sauce
  • some chopped onion
  • some chopped chili peppers or pinch of ground chili, optional for heat
  • ½ teaspoon sesame oil
  • pinch sugar
Instructions
Shumai
  1. Pulse shrimp, garlic, ginger, and onion in a food processor until small pieces. Try not to blend it into a paste, you want some texture. If you prefer you can turn half of it into a paste, but no more than that.
  2. Mix in a bowl with the pork, soy sauce, sesame oil, and starch powder very well. Use your hand and get in there and squeeze it together. Let this mixture sit at least 15 minutes. Several hours is better up to 8 hours in the fridge.
  3. After at least 15 minutes, get a pot of water boiling with your steam basket. At least an inch, maybe two. I suggest you wrap your lid like shown in the video to prevent water from dropping into your shumai.
  4. For filling, wet the wrapper with water quickly and take 1 tablespoon of meat mixture and place into the middle of the wrapper. Make a circle with your hand and use that to push the filling into the wrapper. Pinch the top a bit and pleat the insides if necessary. Squeeze in the middle a little and push against the counter to flatten the bottom. Repeat this for the entire bowl. You should get 30-60 depending on how much you add into the wrappers. I got 42.
  5. Once you're done making all the shumai, add them to your steamer, you want to fill the steamer but don't let them touch. Steam them for 10-20 minutes depending on the size you made. I checked mine after 15 minutes and they were done. You'll want to cook it until the internal temp reaches 145. (If you don't own a thermometer and you should!) cook until the inside is no longer pink.
  6. Let cool for a few minutes before eating. Serve with soy sauce or a vinegar soy dipping sauce.
Dipping Sauce
  1. Mix together and serve. The onions taste amazing if you let this sit in the fridge overnight however.
Nutrition Information
Serving size: 1 piece Calories: 60 Fat: 2 Saturated fat: 1 Unsaturated fat: 1 Carbohydrates: 7 Sugar: 0 Sodium: 77 Fiber: 0 Protein: 4 Cholesterol: 17

Blueberry Maple Syrup

Blueberry Maple Syrup
 
Prep time
Cook time
Total time
 
Traditional fruit sauces take a long time boiling and reducing and frankly we don't have the time in the morning these days. This took less than 10 minutes and was better than a traditional sauce. The thin version really absorbs into the pancakes but the thick version is oh-so gourmet looking that it will really impress your family and friends.
Author:
Recipe type: Breakfast
Cuisine: American
Serves: 1 cup
Ingredients
  • 1 cup frozen blueberries - small varieties suggested
  • ½ cup maple syrup
  • ¼-1/2 cup water
  • optional - 1 teaspoon tapioca starch mixed with 2 teaspoon water
Instructions
  1. In a nonstick skillet, preheat it over medium high heat until a drop of water sizzles away almost immediately.
  2. Add in 1 cup of frozen blueberries (fresh can be used but wash them very well and pick out any hard bits) and stir until the berries release their juices and are thawed. This only takes about 1 - 1½ minutes. The object isn't to cook them through and squish them but just to thaw them. Add in your ½ cup of REAL maple syrup, no pancake syrup please.
  3. Let this bubble for about 90 seconds, you just want to heat through the syrup. Then add your water, I added about ⅓ of a cup but you can add less or more. This thins it out so it's not super strong plus helps stretch your budget a little, you could skip this if you want.
  4. At this point you could stop and serve and it would taste amazing but it's thin and won't really thicken until cooled. I suggest taking a mixture of 1 teaspoon tapioca (cornstarch would work but you'll have to boil it harder) and 2 teaspoons water, mix well and turn off the heat.
  5. Add in this tapioca mixture and stir until you notice it really get thick. You'll want to stir about 2 minutes in total just to make sure you get no lumps.
  6. You should notice all the white disappear and it will resemble a nice jam in texture. At this point you're done!
Notes
Serve warm on-top of pancakes, I suggest my No Oil Vegan Whole Wheat Pancakes OR serve cold on-top of toast like a blueberry Jam (if you want to just make this a Jam, triple the amount of tapioca mixture).
Nutrition Information
Serving size: ¼ cup Calories: 131 Fat: 0 Saturated fat: 0 Unsaturated fat: 0 Trans fat: 0 Carbohydrates: 33 Sugar: 27 Sodium: 4 Fiber: 1 Protein: 0 Cholesterol: 0
 

How to make: Vanilla Extract


How to make: Vanilla Extract
 
Have you ever wondered how they make vanilla extract, or been curious why they can taste so different from brand to brand? Well some brand actually use chemicals in the processing of their extracts, leading you ingesting poisons you would rather not have, but I have a solution for you! Just make you own like I do. Now that might sound confusing and borderline scary, but once you try this I promise you'll never buy the junky overpriced stuff in the store.
Author:
Serves: 2 cups
Ingredients
  • 10 long sized (6-7") vanilla beans (see notes)
  • 14-15 ounces clear and unflavored vodka
  • 16 ounce GLASS container , amber works best
  • scissors
Instructions
  1. If your beans are older you can snap them, otherwise, use your scissors and cut 10 beans into ½ inch - 1 inch pieces and put them inside a glass container that's at-least 16 ounces and has a tight fitting lid. Pour in 14 - 15 ounces of a clear unflavored vodka. I just use the cheapest vodka at the store, but if you want you can use the more expensive stuff. The important part is to not get flavored vodka or a mix vodka, this will ruin the final flavor and is a waste of good vanilla beans.
  2. After you add the vodka, put on the cap and shake gently to help the process along. You will notice that it will already turn a slightly browner color and you might see little black specs, this is normal and is what will make your homemade extract 100 times better than store-bought in the end. Put your extract in a darker place, away from direct sunlight. An amber bottle will help with this, but since they're hard to find, storing away from sunlight works best. For the first week, try to shake it once a day, I find this helps give the best results.
  3. Minimum time for soaking is 2 weeks, this will give a weaker flavor, but still comparable to something in the store. One month is best for a full flavored extract that is slightly stronger than double strength at the store.
  4. At this point you can strain out the vanilla pods in a coarse mesh strainer (you want the seeds to fall through) or you can leave them in there. After about 2 months time, the extract will not get any stronger. At this stage you will have something super flavorful that makes this more than worth your while. As seen in the video it bests VERY dark and wonderful. The smell is something that cannot be described and the taste is nothing like vanilla from a bottle in the super market.
Notes
Some of you might be saying to yourself that making homemade vanilla extract would cost a small fortune, and you very well could be right. If you go to buy vanilla pods in the store they're usually 2 pods for 10 dollars USD, however, I have been using vanilla beans purchased off the Internet for years now with no issues. I purchase mine on eBay from a VERY well known and respected seller,CLICK HERE, please note that I am NOT being paid to advertise these people, I just like their products. I use grade B or extract grade vanilla, planifolia aka Madagascar bourbon beans. You can use grade a but it does not yield any better results, I have tried it. You can also use Tahitian vanilla but they do tend to be more expensive. I always suggest buying a pound of beans, this saves you a lot of money on shipping and the final product. After shipping it only costs about 31 dollars and will last you many years. Over time they dry out and are only good for extract, but I am on 3 years and the beans still produce an amazing flavored extract. Store vanilla in a tight fitting container, like a quart sized wide mouth mason jar away from direct sunlight. If your vanilla gets white mold of them , obviously throw them away or compost them.
 

Homemade Peanut Butter


Homemade Peanut Butter
 
Prep time
Total time
 
Author:
Serves: 16 tablespoons
Ingredients
  • 16 ounces peanuts dry roasted (unsalted is better, if you cannot find unsalted see notes**)
  • 1 teaspoon good quality olive oil or grape-seed oil
  • 1 pinch salt (see note*)
  • *Optionally* you can add 1 tablespoon sugar for sweetened peanut butter
Equipment:
  • You will need either a decent quality food processor or a high powered blender. Vitamix or Blendtec blenders are perfect for this! If you use a processor, make sure you scrap the sides down often.
Instructions
  1. Place 16 ounces of roasted peanut into your blender (or food processor). If using a vitamix, you will need the tamper otherwise you will need a spatula to scrape down the sides. Add a pinch of salt if you're using unsalted peanuts. Process on high while tamping down the peanuts, OR blend on high until you notice the peanuts "climbing" up the sides of the container, then stop the blender (or food processor) and scrape the sides down and repeat. When you're almost to your desired smoothness, add the oil and any optional sweetener. Continue to blend, repeating the scraping process until you reach your desired texture.
  2. Scrape your peanut butter into a container, I suggest glass. Place a tight fitting lid on and you're done! Homemade peanut butter will last 2 or so weeks in the fridge, however this stuff is so good, I doubt you'll make it that long!
Notes
Note: if you're using salted peanuts or do not want any salt in your peanut butter, omit the extra salt!

If you cannot find unsalted dry roasted peanuts, don't worry! You can wash half the peanuts in warm water and let air dry on a tray or cotton cloth overnight at room temperature, or in an oven at 300 for 15-30 minutes. Why should you do this? Because using salted peanuts will make the peanut butter WAY too salty. Not only will it tasted weird, we shouldn't eat all that sodium.
Nutrition Information
Serving size: 1 tablespoon (28g) Calories: 165 Fat: 14 Saturated fat: 2 Trans fat: 0 Carbohydrates: 6 Sugar: 1 Sodium: 12 Fiber: 2 Protein: 7 Cholesterol: 0