Category: Gluten Free

Gluten Free; recipes not containing gluten ingredients such as wheat, barley, rye, etc. ALWAYS double check your sources before feeding food to a person with gluten allergies. PLEASE!

Mexican Rice Recipe – Restaurant Style

Mexican Rice - Restaurant Style

When I lived in Omaha I used to go to the South side all the time to a tiny little tienda that was well known for their beans, salsa, and their rice! Now that we've moved to Chicago I find myself missing home; tonight was one of those nights. So I decided to suck it up and make some Mexican rice! It tasted just like the one from the store and it just warmed my soul. I hope you enjoy!
Course Mexican
Prep Time 5 minutes
Cook Time 50 minutes
Total Time 55 minutes
Servings 4 servings
Calories 277 kcal
Author FaylinaMeir

Ingredients

  • 1 cup of long grain rice
  • 2 1/2 tablespoons lard or a neutral flavored oil
  • 2 cups chicken stock unsalted (water is okay too!)
  • 2 tablespoons tomato paste
  • 1 teaspoon garlic powder or to taste
  • 1/2 teaspoon cumin or to taste
  • 1/2 a large white onion finely chopped
  • 150 g frozen mixed peas and carrots I used pictsweet brand
  • salt to taste

Instructions

  1. In a large pot with a tight fitting lid, add your lard/oil and get it heating over medium-high heat. Rinse your rice under warm water VERY well until the water runs clear. Shake off all extra water.
  2. When the oil is hot, but not smoking, carefully add in your rice and stir to coat with oil. Continue to stir the rice every so often until the rice goes from clear to milky in color. Do NOT let the rice burn it will be become very bitter.
  3. Add in your onion and stir well. Cook until the rice just starts to brown. Add your carrots and peas, then add in your tomato paste. Thoroughly mix in the tomato paste so there are no clumps.
  4. Once you remove the lumps add in your chicken stock (or water) in two portions to ensure your tomato paste mixes properly.
  5. Add in your garlic powder, cumin, and salt. Put the top on and boil on medium-high for 5 minutes.
  6. After 5 minutes remove the cover, stir thoroughly, and replace the cover. Turn down heat to a simmer and cook for 25 minutes minimum.DO NOT REMOVE THE LID. It's tempting to stir and oogle over your delicious rice, but you must resist temptation.
  7. After 25 minutes test the rice, adjust the salt, and if need be continue to cook until the rice is done. This rice is more on the dry side, so don't be alarmed. Once finished turn off the heat, stir well, and let sit 5 minutes before serving.

Recipe Notes

To reheat rice add into preheated pan on medium-high and mix for 2 minutes. Then add a spoon or two of water and cover. Cook for 2 more minutes and mix. Rice should be soft like when it was fresh!

If making vegan/vegetarian I recommend refined coconut oil for best results.
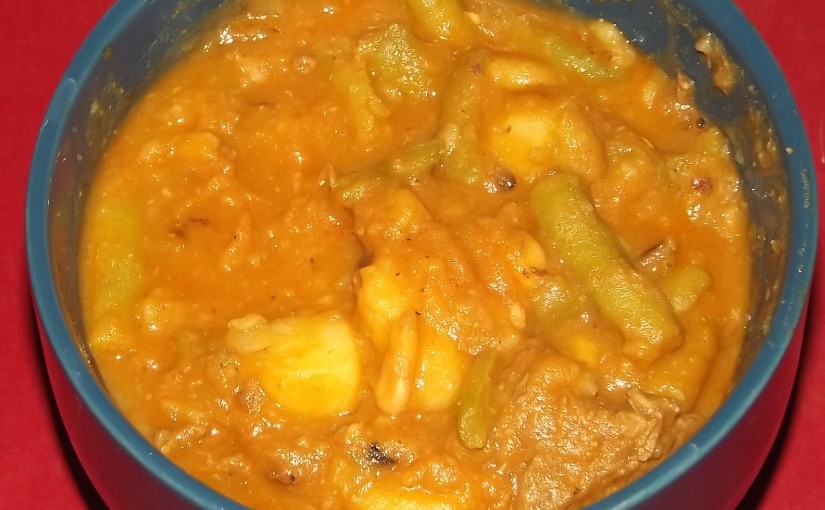
 

Greek Restaurant Inspired Beef Stew

Greek Restaurant Inspired Beef Stew
 
Prep time
Cook time
Total time
 
I fell in love with the beef stew at a local place called King Kong. After many attempts, I've come up with this recipe, and I think it's as good or better!
Author:
Serves: 8 servings
Ingredients
  • 2½ pounds cut up gold potatoes
  • 1 kg (about 2 pounds) beef chuck, cut into ½ inch pieces trimmed of the fat
  • 1 15 ounce can north beans, rinsed and drained well
  • 1 medium onion, diced
  • 1 6 ounce can tomato paste
  • approx 3 liters (quarts) water, or more, see recipe
  • 1 tablespoon Ghee (see note)
  • ½ teaspoon salt, as needed, optional
  • 4.00 cup drained, Green Beans, Fresh Cut Rinsed and Drained
  • 2 tablespoons onion powder
  • 2 tablespoons garlic powder
  • 1 teaspoon black pepper, or to taste
Instructions
  1. Prepare all your ingredients ahead of time. Finally dice your onions, cut your potatoes into ½ inch cubes and soak in water til using (this helps prevent oxidization), cut your beef into ½ inch pieces, rinse your beans well, drain your green beans, and mix your tomato paste with all your seasonings. This helps prevent clumps of seasoning in your stew.
  2. With your pot over medium-high, saute your onions til it softens and just starts to brown, this should take about 3-5 minutes. Then add your beef and stir it around. If you want you can brown your beef, but it isn't required. Add enough water to cover your beef by a few centimeters, or about an inch. Add salt now if desired.
  3. Cover, reduce the heat, and boil until the meat is tender. Anywhere between 30-60 minutes. Check on it every so often and add a bit more water if needed so it doesn't boil dry. After meat is tender add your potatoes and enough water to color by a few centimeters or an inch. Boil the potatoes until fork tender, about 15-20 minutes.
  4. At this point add the rest of your ingredients, making sure to dissolve all the tomato paste and seasoning. If you want to, boil your soup down more until it thickens like mine. Adjust the salt and pepper and you're done! This soup only gets better in the fridge the next day and is excellent over toast, cornbread, or plain ole rice. Delicious and a sure fire recipe!
Notes
Any type of onion or any type of potato can be used, I just prefer sweet onions and yukon gold potatoes.
If you don't have ghee you can use olive oil or use ½ tablespoon oil and ½ tablespoon butter for the same rich taste
Nutrition Information
Serving size: 2 cups Calories: 397 Fat: 7 Saturated fat: 3 Unsaturated fat: 2 Trans fat: 0 Carbohydrates: 45 Sugar: 5 Sodium: 646 Fiber: 8 Protein: 36 Cholesterol: 55
 

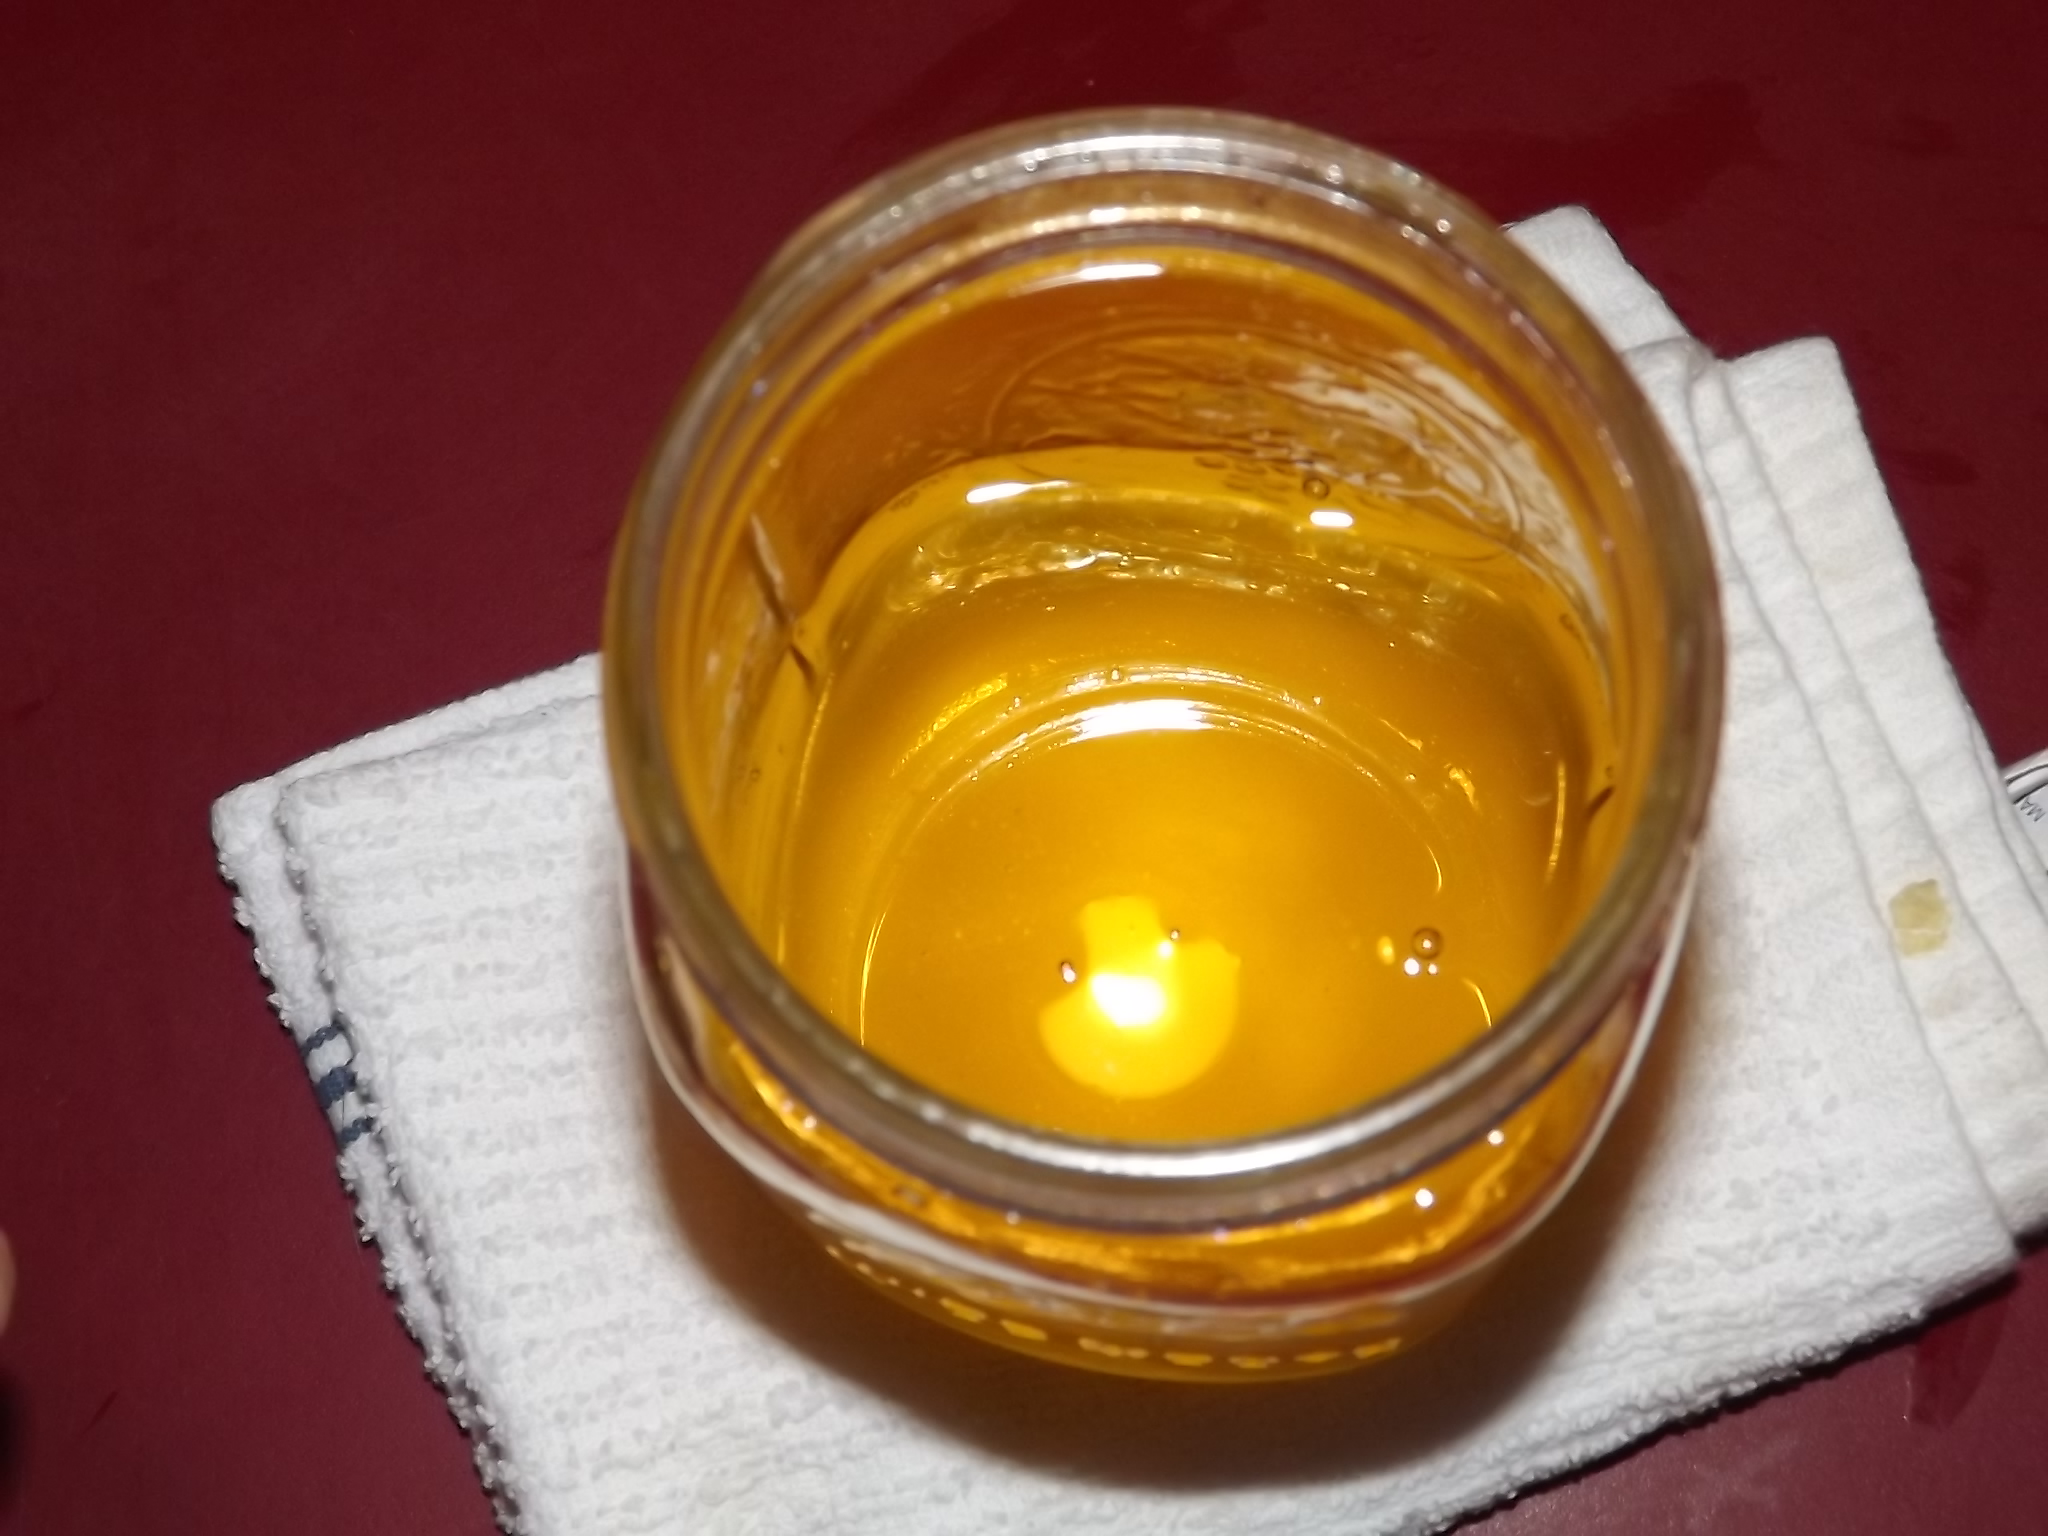
How to make ghee | The EASIEST Way

Ghee
 
Prep time
Cook time
Total time
 
Stop spending a fortune buying ghee from the store when it can be made at home in less than 30 minutes for a whole lot less!
Author:
Serves: 2 cups
Ingredients
  • 1 pound butter
  • 1 tablespoon water
Instructions
  1. Unwrap your butter and cut into smaller sized pieces, you don't have to do this, but it'll make the process a little faster. Add your pieces into a stainless steel pot and put on the stove over medium.
  2. Using a metal spoon (note not plastic!), stir your butter until it is melted. Once it melted and there are bubble starting to come up, turn your heat down to low. If the bubbles are too big, you will need to turn it down further, until they are similar to the video.
  3. Set your timer for 20 minutes and walk away... yes walk away. We don't need to skim the milk solids off (although you could). As long as you use a large enough pot on a low heat so you won't boil it over, you don't need to watch it.
  4. After 20 minutes, if the milk solids seem nicely separated go ahead and add about 1 tablespoon of water to this mixture and stir. Don't be concerned when it starts to make loud popping sounds, this is normal. Cook for another 2-5 minutes to ensure the water is all boiled off. If you like a more nutty roasted flavor in your ghee, continue to cook 5-15 more minutes keeping close eye on it. Ghee will go from perfect to burned in a matter of seconds once it hits a certain point.
  5. Let your ghee cool off for 5-10 minutes to make it safer to strain. Strain through a fine mesh strainer, paper towel, cheesecloth, or anything you have that will catch the milk solids. I suggest you use a glass container with a tight fitting lid. DO NOT USE PLASTIC. Plastic will leech out a nasty flavor over time into your ghee, plus you could melt it... never a good idea.
  6. Congratulations! You made ghee and saved yourself a lot of money over buying it!
Notes
Contrary to what some people say, you CAN use salted butter. I use salted Kerrygold butter and it gives the final product a slightly salty flavor and a grainy texture.

Ghee is shelf stable so you don't have to put it in the fridge. You can if you want, but there is no point. It should last anywhere between 3 months and 1 years in an air-tight container, but try to use it as soon as possible for best flavor.

The quality of butter you use GREATLY effects the end result. Normal cheap store bought butter which looks almost white, has no real flavor and you'll notice it's probably a lot more water. Try to find a grassfed butter for this application.
Nutrition Information
Serving size: 1 teaspoon Calories: 45 Fat: 5 Saturated fat: 3 Sugar: 0 Sodium: 0 Cholesterol: 10
 

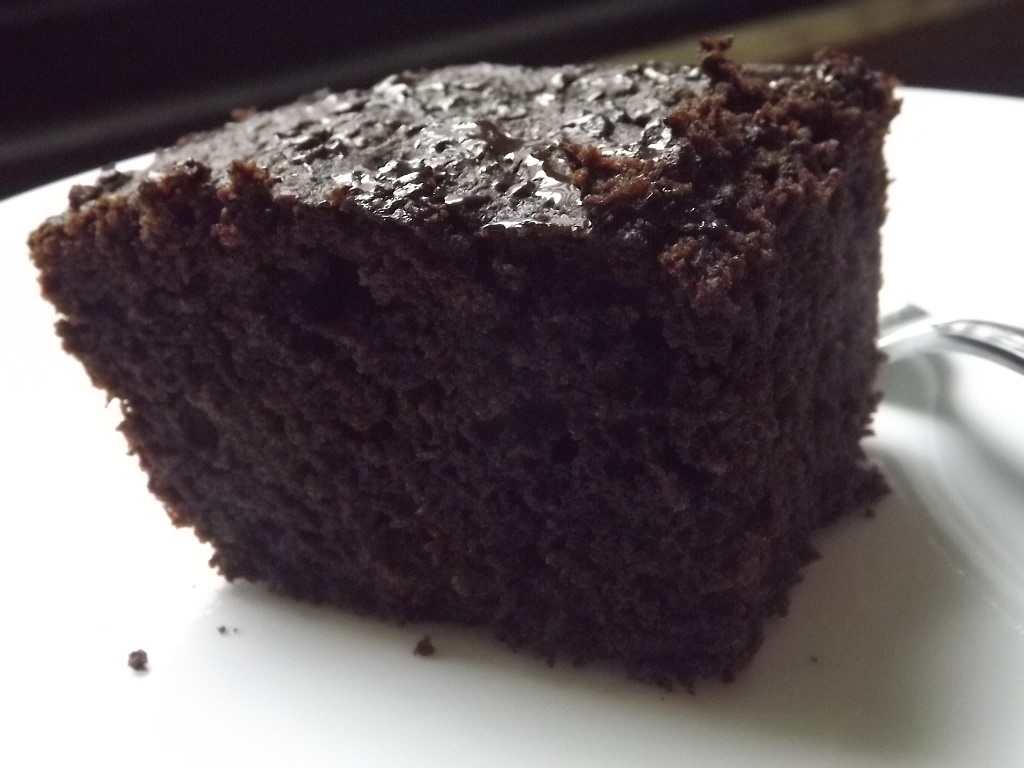
Gluten Free Paleo Brownies


Gluten Free Paleo Brownies
 
Prep time
Cook time
Total time
 
I got this craving for a brownie so I went to the kitchen and threw stuff together and it worked! That is literally how this came to be.
Author:
Serves: 6 pieces
Ingredients
  • ½ cup Coconut Flour
  • ¼ cup Tapioca Starch
  • ¼ cup Toasted Carob Powder (or ¼ cup cocoa powder)
  • ½ tsp, Baking soda
  • 1 tsp Baking Powder Aluminum Free & Double Acting
  • 3 eggs
  • ¼ cup plus 2 tablespoons Coconut Milk
  • ¼ cup Honey
  • 1 tsp Pure Vanilla Extract
  • 2 tsp apple cider vinegar
  • 2 tablespoons Coconut Oil
Instructions
  1. Preheat your oven to 350f (175c).
  2. In a large bowl mix together your eggs and honey until well combined. Then add your apple cider vinegar, vanilla, coconut milk, and coconut oil. Don't worry if your coconut oil forms little solid pieces, this is actually what you want because when the brownie bakes it makes these yummy little pockets. Make sure you whisk this together very well, you don't want the oil chunks very large.
  3. In another bowl, mix the rest of your ingredients together well. You don't want any lumps.
  4. Grease your baking container well; I used a glass loaf pan. Don't use a large pan if you want these to be taller. Once your oven is well preheated, mix your dry ingredients into your wet ingredients and whisk til there are no lumps. Scrape your batter into your container and even it out.
  5. Bake in the middle of your oven for 25-35 minutes (see notes). I like my brownies well done so I went the full 35 minutes. A toothpick inserted into the middle will come out clean. Let cool in the pan for at east 10 minutes. Serve warm, and try some butter on top, it tastes amazing!
Notes
If you want more fudgy/gooey brownies only bake it about 80% done, about 25 minutes. A toothpick will come out almost clean and might be a little jiggly in the middle. Let cool at least 20 minutes.
Nutrition Information
Serving size: 1 Calories: 225 Fat: 11 Saturated fat: 8 Unsaturated fat: 1 Trans fat: 0 Carbohydrates: 27 Sugar: 15 Sodium: 217 Fiber: 5 Protein: 6 Cholesterol: 106
 

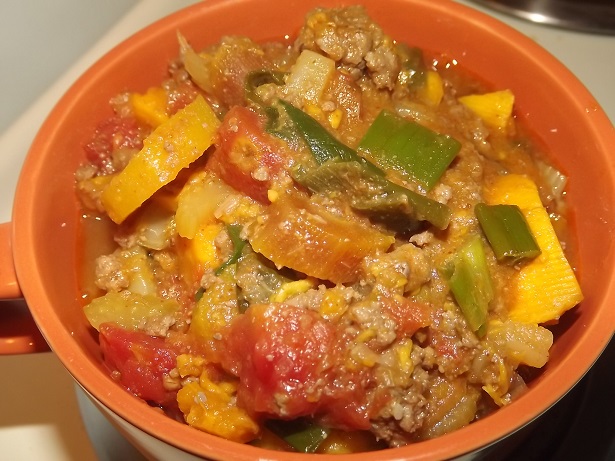
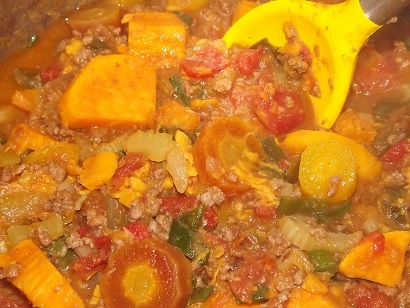
Paleo Sweet Potato Chili


Paleo Sweet Potato Chili
 
Prep time
Cook time
Total time
 
This paleo/primal approved chili is naturally sweet and delicious. It has a good amount of carbs and is super filling! It even tastes great the next day.
Author:
Serves: 6 servings
Ingredients
  • 1 pound ground beef
  • 2 tablespoon lard
  • 1 large onion diced or 10 ounces green onions (reserve some tops)
  • 2 pounds sweet potatoes cut into 1 inch cubes
  • 1 lb carrots cut into ½ inch slices
  • 1 lb finally slices celery
  • 2 14.5 ounce cans of diced tomatoes in juice (you can use tomato puree also)
  • 2 cans of water (use the tomato cans)
  • 2 cups chicken stock or beef stock
  • 1 bay leaf
  • 1 teaspoon fennel powder
  • 1½ tablespoon chili powder (you can use up to 4 tablespoons if you wanted it hotter)
  • 1 tablespoon ground cumin
  • 1 tablespoon garlic powder
  • 1 tablespoon fish sauce (optional but suggested!)
  • salt if needed
Instructions
  1. In a large pot heat your lard (or other cooking fat) over medium high heat. When it's fully heated add in your onions. If you're using green onion (spring onion) reserve the green tops for later. Cook for about 2 minutes, then add in your ground beef. Break it up a little and add a lid to the pan for easier cooking. If you need to you can add a few splashes of water. Let this cook for 3 or so minutes.
  2. After 3 minutes break up your meat into smaller pieces, a nice trick is to use a potato masher for this. When you're happy with the thickness, add in your potatoes, carrots, celery, canned tomatoes + the water, chicken or beef stock, and your 1 bay leaf. Stir well.
  3. Put your lid on and bring to a boil. Once boiling, reduce heat to medium and boil for 40-60 minutes or until a fork goes into the carrots and potatoes with very little resistance.
  4. After the chili is done, add in the rest of your spices, fish sauce, and salt is needed. I suggest taking a little of your liquid and mixing these in a bowl and adding into the chili mix to prevent lumps in the garlic powder, but it's not that big of a deal. Adjust the chili powder to your taste.
  5. You're done! I got 6 servings out of this, about 16 ounces per bowl. The fish sauce isn't required but it's a natural source of umami and really kicks the chili up a notch.
Notes
Fattier beef is preferred in this recipe. All I had was 96% lean so the fat calories are way down for nutrition, if you use 80% it would be better!

You CAN use a slower cooker (I haven't done it yet though), my guess is 6-8 hours on low or 4-6 hours on high.

Please note that you want the bare minimum of liquid here, this is going to be a very hearty chili!
Nutrition Information
Serving size: 16 ounces Calories: 333 Fat: 8 Saturated fat: 3 Unsaturated fat: 3 Trans fat: 0 Carbohydrates: 47 Sugar: 15 Sodium: 890 Fiber: 9 Protein: 20 Cholesterol: 44