Uncategorized

Do you miss pizza because you either can’t find a decent vegan pizza or because you’re on a diet? Well no more my friends, this pizza is lower calorie than traditional pizza, lower in fat, and completely vegan! If you have gluten issues, please see my gluten free pizza recipe and use the crust, or use your own. This recipe is for 3 personal pan size or mini size pizzas. These will feed 3 grown people easily.
Ingredients:
1 whole recipe – Basic Whole Wheat Pizza Crust
1 whole recipe – Basic Marinara or Pizza Sauce
6 ounces nondairy cheese – I suggest Daiya half mozzarella half cheddar
your choice of toppings, I suggest:
1 bell pepper, sliced thin
1 tomato, sliced
spring onion, minced
vegan pepperoni sliced – Yves makes a great tasting brand at only 50 calories per 10 slices too!
Directions:
Preheat your oven with your pizza stone at 425 for at-least 15 minutes. If you’re not using a pizza stone, only preheat until your oven is hot.
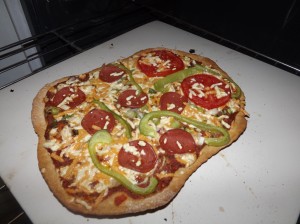
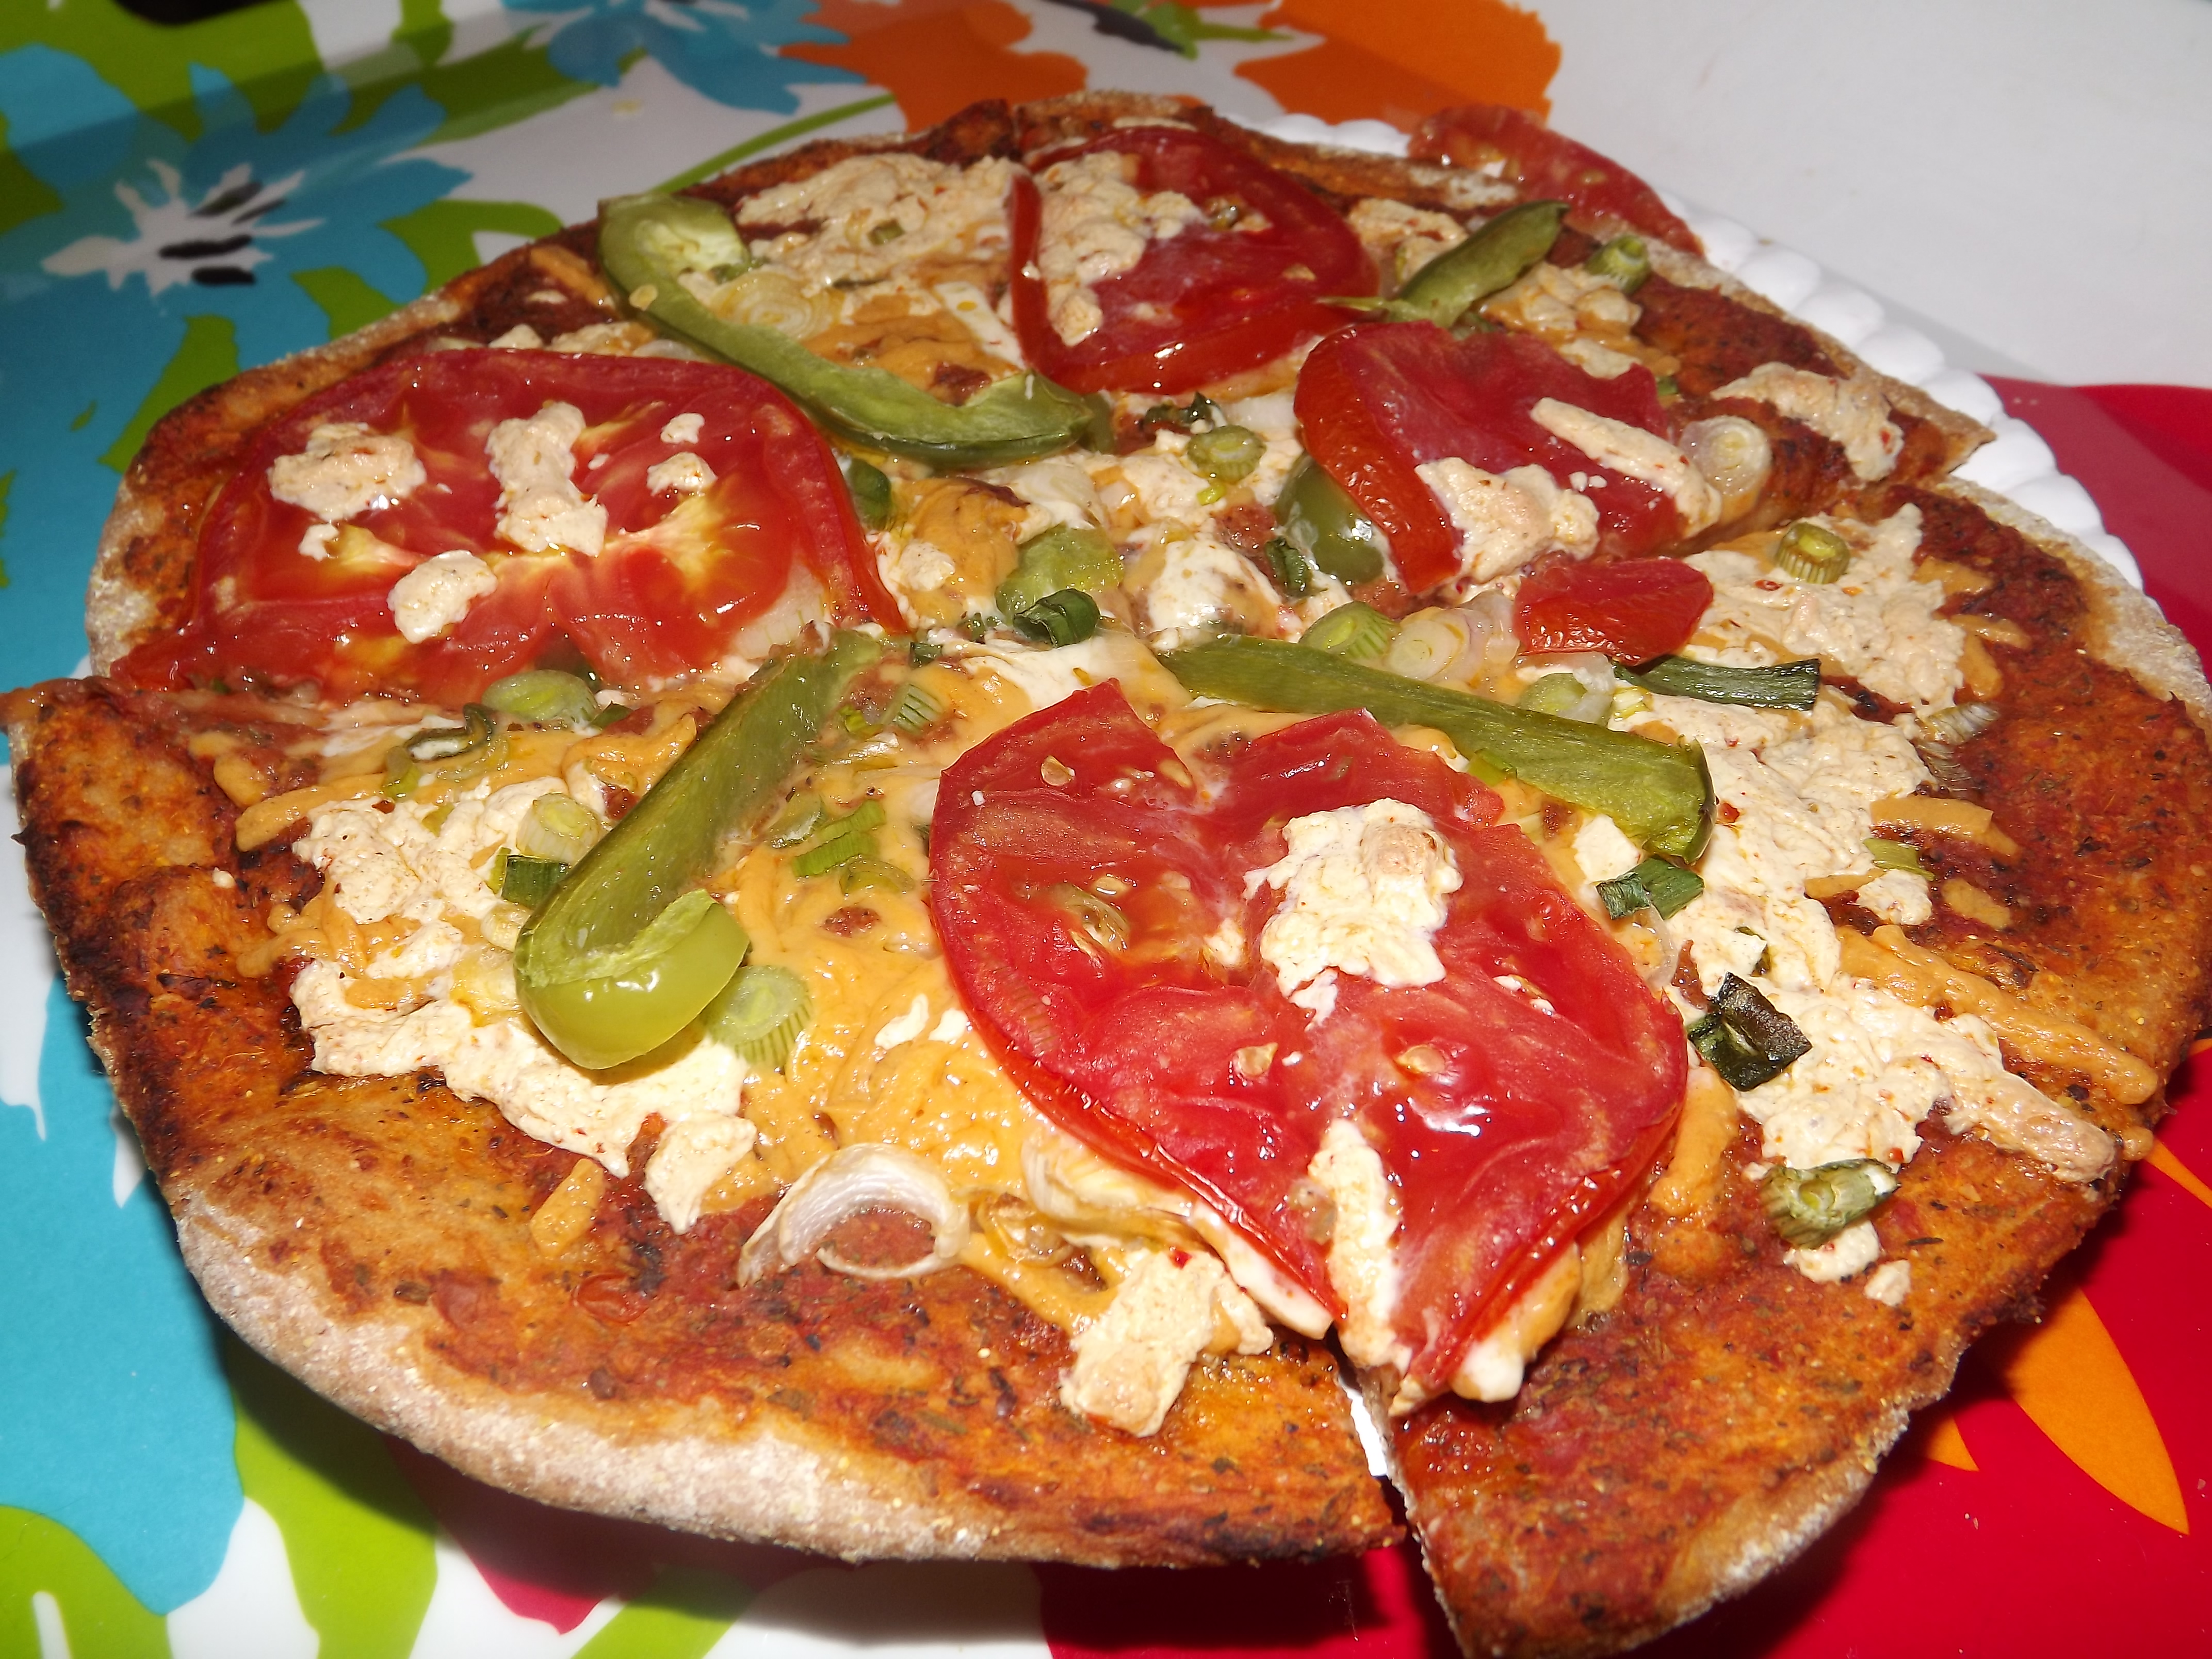
Divide your pizza dough into 3 equal pieces, and roll to your desired thickness. I choose a medium-thin style crust that got real crispy when baked. Rub corn meal into the pizza crust and flip over. If you’re using my pizza crust recipe, there is no need to prebake, otherwise follow directions that come with your crust. Spread 1/3rd of your pizza sauce onto the dough. For a traditional look, leave a ring around the outside of the crust, otherwise spread the sauce to the edge to help with drying and add extra flavor. Now spread most of 2 ounces of daiya cheese on your pizza, I left just a little bit for the top of the pizza. Arrange your desired toppings on your pizza. As you can see in the photo, my personal pizza was half veggie pepperoni, and half tomato. Don’t be afraid to mix and match your desired toppings!
Assuming your oven is hot, transfer your pizza on the stone (or pan) and bake. Time will vary and I suggest you start checking on the color of your crust at 15 minutes. A deep golden color will tell you if its done or not:
thin crust: 15 minutes
“Medium” – thin crust: 18 minutes
thicker crust 20-25 minutes
Remove from the oven and cut into 4-6 pieces and enjoy. This recipe makes 3 mini size pizzas , although they aren’t that mini. If you make a pizza like the one shown above it will have about 540 calories. If you use different brands of cheese of faux meat products, calories will vary. Also keep in mind the typical pizza has almost 1000 calories in it. Enjoy!
Uncategorized

So I bought a new product the other day at Whole Foods; this vegan gluten free cheese called Daiya. I’ve seen many a vegan rave about this stuff claiming it tastes “EXACTLY” like real mozzarella cheese. Well I won’t go into huge detail about it (review coming soon!); however I will say its much better cooked than not. I started out making a crust which is hard to see since I like thin crust. Sauteing some soy chorizo, prepped all the veggies. Rolled out my crust on a silpat, flipped into a pan. Pre Baked at 375 for 6 minutes, and ladies and gentlemen the rest was history. Now, in my house I have 1 die hard meat eater, and my husband who is more of a flexitarian like myself, however, this pizza has my step son fooled it was meat and my husband shocked it was gluten free AND vegan. Best of all, my stomach didn’t freak out from the milk or the gluten and at the end of the day we were all happy people. The following is the recipe as close as I could guess (I freehand all my recipes) because originally, I didn’t plan to post this, but it was so amazing I couldn’t resist. Depending on your flour brand and climate you might need more water or more flour.
Ingredients:
Crust:
2 cups gluten free flour mix (I suggest using my recipe, click HERE , however any brand will work that’s made for dough)
1 tablespoon yeast
2 pinches salt
1 1/2 tablespoons oil ( I used grape-seed)
2 teaspoons sugar
3/4 cup warm water
heavy pinch corn flour for dusting, optional
Pizza:
1 pre baked crust (listed above)
1 medium (or 3/4 Large) bell pepper, I used red
1 cup green onion tops
small handful cilantro leaves
1/2 can of black olives, drained and rinsed well
1 bag Daiya mozzarella flavor cheese shreds
1 tube Cacique soy-chorizo (or 8-10oz any vegetarian chorizo)
1-2 cups your favorite pasta sauce or see note below**
Directions:
I started with the chorizo. You’ll want to follow the directions on the package because they vary, but you want to cook it over medium to medium high until the color darkens and it gets crispy. You might have to go a few extra minutes. Great thing is, you can precook this an hour in advance or a few minutes like I did.
For the crust: In a food processor put your water, salt, yeast, sugar, and oil. Pulse until the yeast is blended in well and let set 5 minutes giving it time to “bloom”. We will not be letting this dough rise, however, blooming the yeast will give it the traditional taste of pizza crust without the hassle.
Once your yeast starts to bubble and look like a science experiment. Take 1 1/2 cups of flour and add it to your food processor. Turn it on and let it blend. Slowly add more flour until the mixture comes together and looks like dough. You might need 2 cups or 3 cups of flour, it just varies. If you add a bit too much, don’t worry you can always add a splash of water.
At this point, preheat your oven to 375 degrees fahrenheit. Get a silpat or a piece of parchment or wax paper and put it on your counter. Put your dough on the counter and roll it to your desired thickness. We went for thin crust which only needs to prebake for 6 minutes, however; if you want something thicker you’ll want to 2X or 1.5X this recipe and prebake it for 12 minutes. Optionally you can take a pinch of corn meal at this point and dust on-top of the dough all over, this will prevent sticking later. If you prefer you can use nonstick spray on the pan. A good tip for transferring the dough is to put the pizza pan ontop of the counter with the dough sheet, slide your hand under the paper (silpat) and center it. Now in a rather quick, but smooth motion, flip the pan right-side up while holding the dough in place. Carefully peel off the paper or silpat and its that simple. Prebake your pizza until the top starts to firm up.
While crust is prebaking, prepare the toppings. Cut up bell pepper into 1/4 inch pieces. Halve the black olives, slice the tops off green onions, finely mince cilantro leaves, take the cheese out of the fridge, get your pasta sauce (see note if you don’t have**), and let your chorizo warm up if pre-made.
Take out the crust; spread your sauce on. I don’t like a lot of sauce, but use more if you want. Add the bell pepper, half the green onions, cheese, chorizo, other half of green onion tops, black olives, and cilantro. Adding the toppings in that order ensures the veggies cook enough to be tender and the chorizo is still crisp.
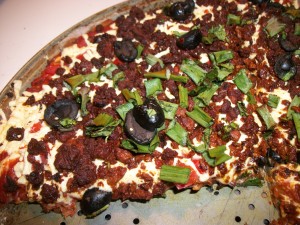
Bake at 375 for 20-25 minutes depending on how well you want the crust and the toppings cooked. If your oven runs hot, starting checking at 15 minutes. When done you’ll have what I nicknamed the “Monster Pizza”. Over flowing with melted gooey cheese, “sausage”, lots of veggies and crazy amounts of flavor. You can’t tell its vegan, you can’t tell its gluten free, but you can tell its awesome, and kid approved! 😉
**Note: If you don’t have pre-made pasta sauce an easy substitute is to keep canned tomatoes on hand. I prefer any fire roasted canned tomato product. Take chopped roasted tomatoes, strain liquid, and pulse in food processor a few times to blend part of it up and then use that in-place of sauce. Its super simple and quick for those pizza emergencies. (this also works as a tasty quick pasta sauce!)
*Also: If you don’t happen to like the toppings I’ve chosen, feel free to change them. I was just using what I had in the fridge at the time.
PLEASE TAKE NOTE: If you are making this and/or cooking for someone with gluten allergies or celiacs disease. Make sure to purchase ingredients that are certified gluten free, and clean your utensils very well. Better safe than sorry.
TIME SAVING TIP: You ever tempted by those ready-bake pizzas you buy at the grocery store, well never again! Make the crust, prebake and let cool down. Top with all your toppings and shrink wrap and store in freezer. Pizza will keep for 3-6 months. To bake just add 5-10 extra minutes onto cooking time. Try making mini pizzas and let your kids top their own, fun for the whole family!
(Nutritional information assume you used the same ingredients and serving size is 1/8th)


