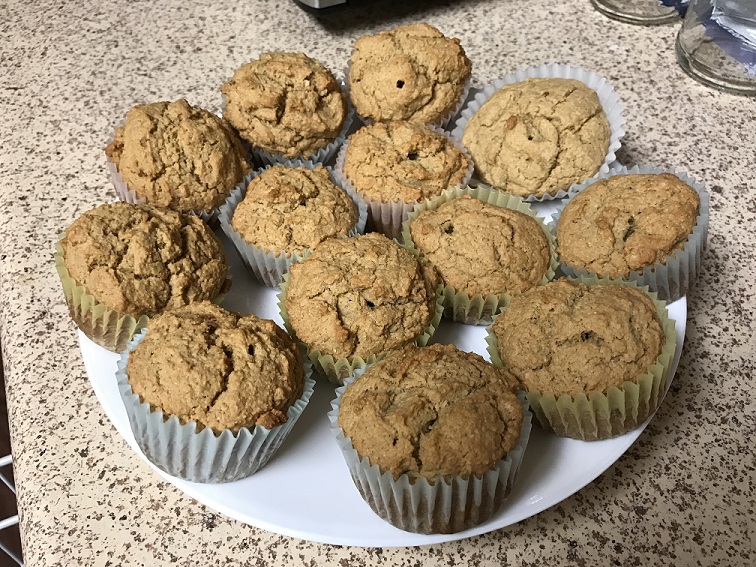
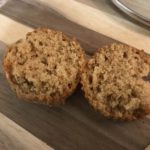
These cornbread muffins are fantastic served with butter or jam, but are also amazing with just about anything. I enjoy them with soups and I used them to make my cornbread stuffing for Thanksgiving this year. Slightly sweetened and oh so delicious!
Course
Side Dish
Prep Time5minutes
Cook Time30minutes
Total Time35minutes
Servings13muffins
Calories110kcal
AuthorFaylinaMeir
Ingredients
1cupcornmeal or masa harina
1cupwhole wheat flour
1cupunsweetened non dairy milk
1/2cupHOT water
1tablespoonapple cider vinegar
3tablespoonscoconut oilnot melted
1largeegg or vegan egg replacementsee note
2tablespoonsdark brown sugar
2packetssteviasee notes
1tablespoonbaking powder
1/2teaspoonbaking soda
Instructions
Preheat your oven to 375F (190C or gass mark 5). Also add your paper liners to your muffin tin or grease VERY well.
In a large mixing bowl add all of your dry ingredients including your sugar and mix well with a whisk. You don't want lumps of flour or leavener. When they're all mixed add your coconut oil. My house wasn't hot enough for it to melt, but if yours is I recommend popping it in the freezer for 15 minutes or so to firm up. You want to whisk it until there batter has small lumps.
In a small bowl or glass mix together your egg and vinegar. If using flax or chia eggs you can add this also. If using a powder, do not mix this until the end.
Once your oven is preheated (and NOT before) mix your wet ingredients into your dry and add your 1/2 cup of HOT water. Divide equally between muffin cups. I recommend 80% full to give a nice rounded top. This method will yield 13 muffins.
Bake until a toothpick inserted into the center comes out clean and the tops are slightly golden. Between 25-35 minutes. Remove from the pan to cool. Enjoy!
Recipe Notes
Flax or chia seeds work fine as egg replacements, as well as powders (use according to box directions)
Calories reflect use of real eggs, obviously fat would be lower if using replacement.
I use a brand called pure via (not sponsered) for my stevia and the packets equal 2tsp of sweetness so adjust accordingly, however MOST brands are interchangeable. If using a pure stevia powder (no extra additives) use the tiny scoop provided. TRUST ME it's enough.
I use masa harina for the digestibility factor, but regular cornmeal does work fine.
Also, you may substitute 2 Tablespoons of coconut oil for 1/2 cup applesauce. Do not replace all the oil; the texture will not be as good.
Nutrition Facts
Serving Size 1 muffin
Servings Per Container 13
Amount Per Serving
Calories 110Calories from Fat 37.8
% Daily Value*
Total Fat 4.2g6%
Saturated Fat 3.1g16%
Trans Fat 0g
Cholesterol 13.5mg5%
Sodium 203.5mg8%
Total Carbohydrate 15.8g5%
Dietary Fiber 1.9g8%
Sugars 2g
Protein 2.4g5%
*Percent Daily Values are based on a 2,000 calorie diet. Your daily values may be higher or lower depending on your calorie needs.
Please note nutritional information is provided as a guideline ONLY and can vary greatly depending on ingredients used. TY!
1 teaspoon molasses (optional but makes it more chewy)
1 tablespoon vanilla extract, only the real stuff please
2 tablespoons neutral oil, I used coconut
½ cup unsweetened applesauce
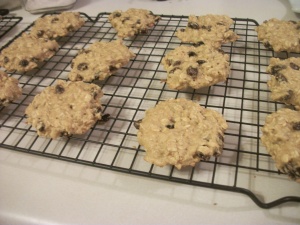
1 unpacked cup raisins***
Instructions
Preheat to 350°F or 175°C.
This step is optional but if you want softer raisins I would advise it. Mix all your liquid ingredients (minus the egg) and let it soak for 20-60 minutes. You can go overnight but they get really soft and I dislike that. I did mine for only 10 minutes and that was good for me.
Next mix all your dry ingredients in your bowl and then add your raisin mixture and egg. Use a spatula to mix (or a spoon) thoroughly. It is a thicker batter so don't be alarmed.
Line your cookie tray with parchment paper or a silicone baking mat. Spoon out a rounded tablespoon per cookie and squish them down. These cookies will rise slightly but will not spread outward. I suggest no more than 12 per tray.
Bake these cookies for 12 minutes and move to a wire rack to cool. They get chewier as they cool.
Notes
Variations: * : You can use all whole wheat flour or all all purpose flour it's a person preference. Whole wheat flour will make the cookies more dense. I would do no more than ½ and ½ but that is me. ** : You can use all sugar or you can skip the sugar and just use maple syrup (or honey). Brown sugar would be best but I used evaporated cane sugar and molasses. *** : You can substitute raisins for any dried fruit to mix this up. Try blueberries and craisins, Delicious!
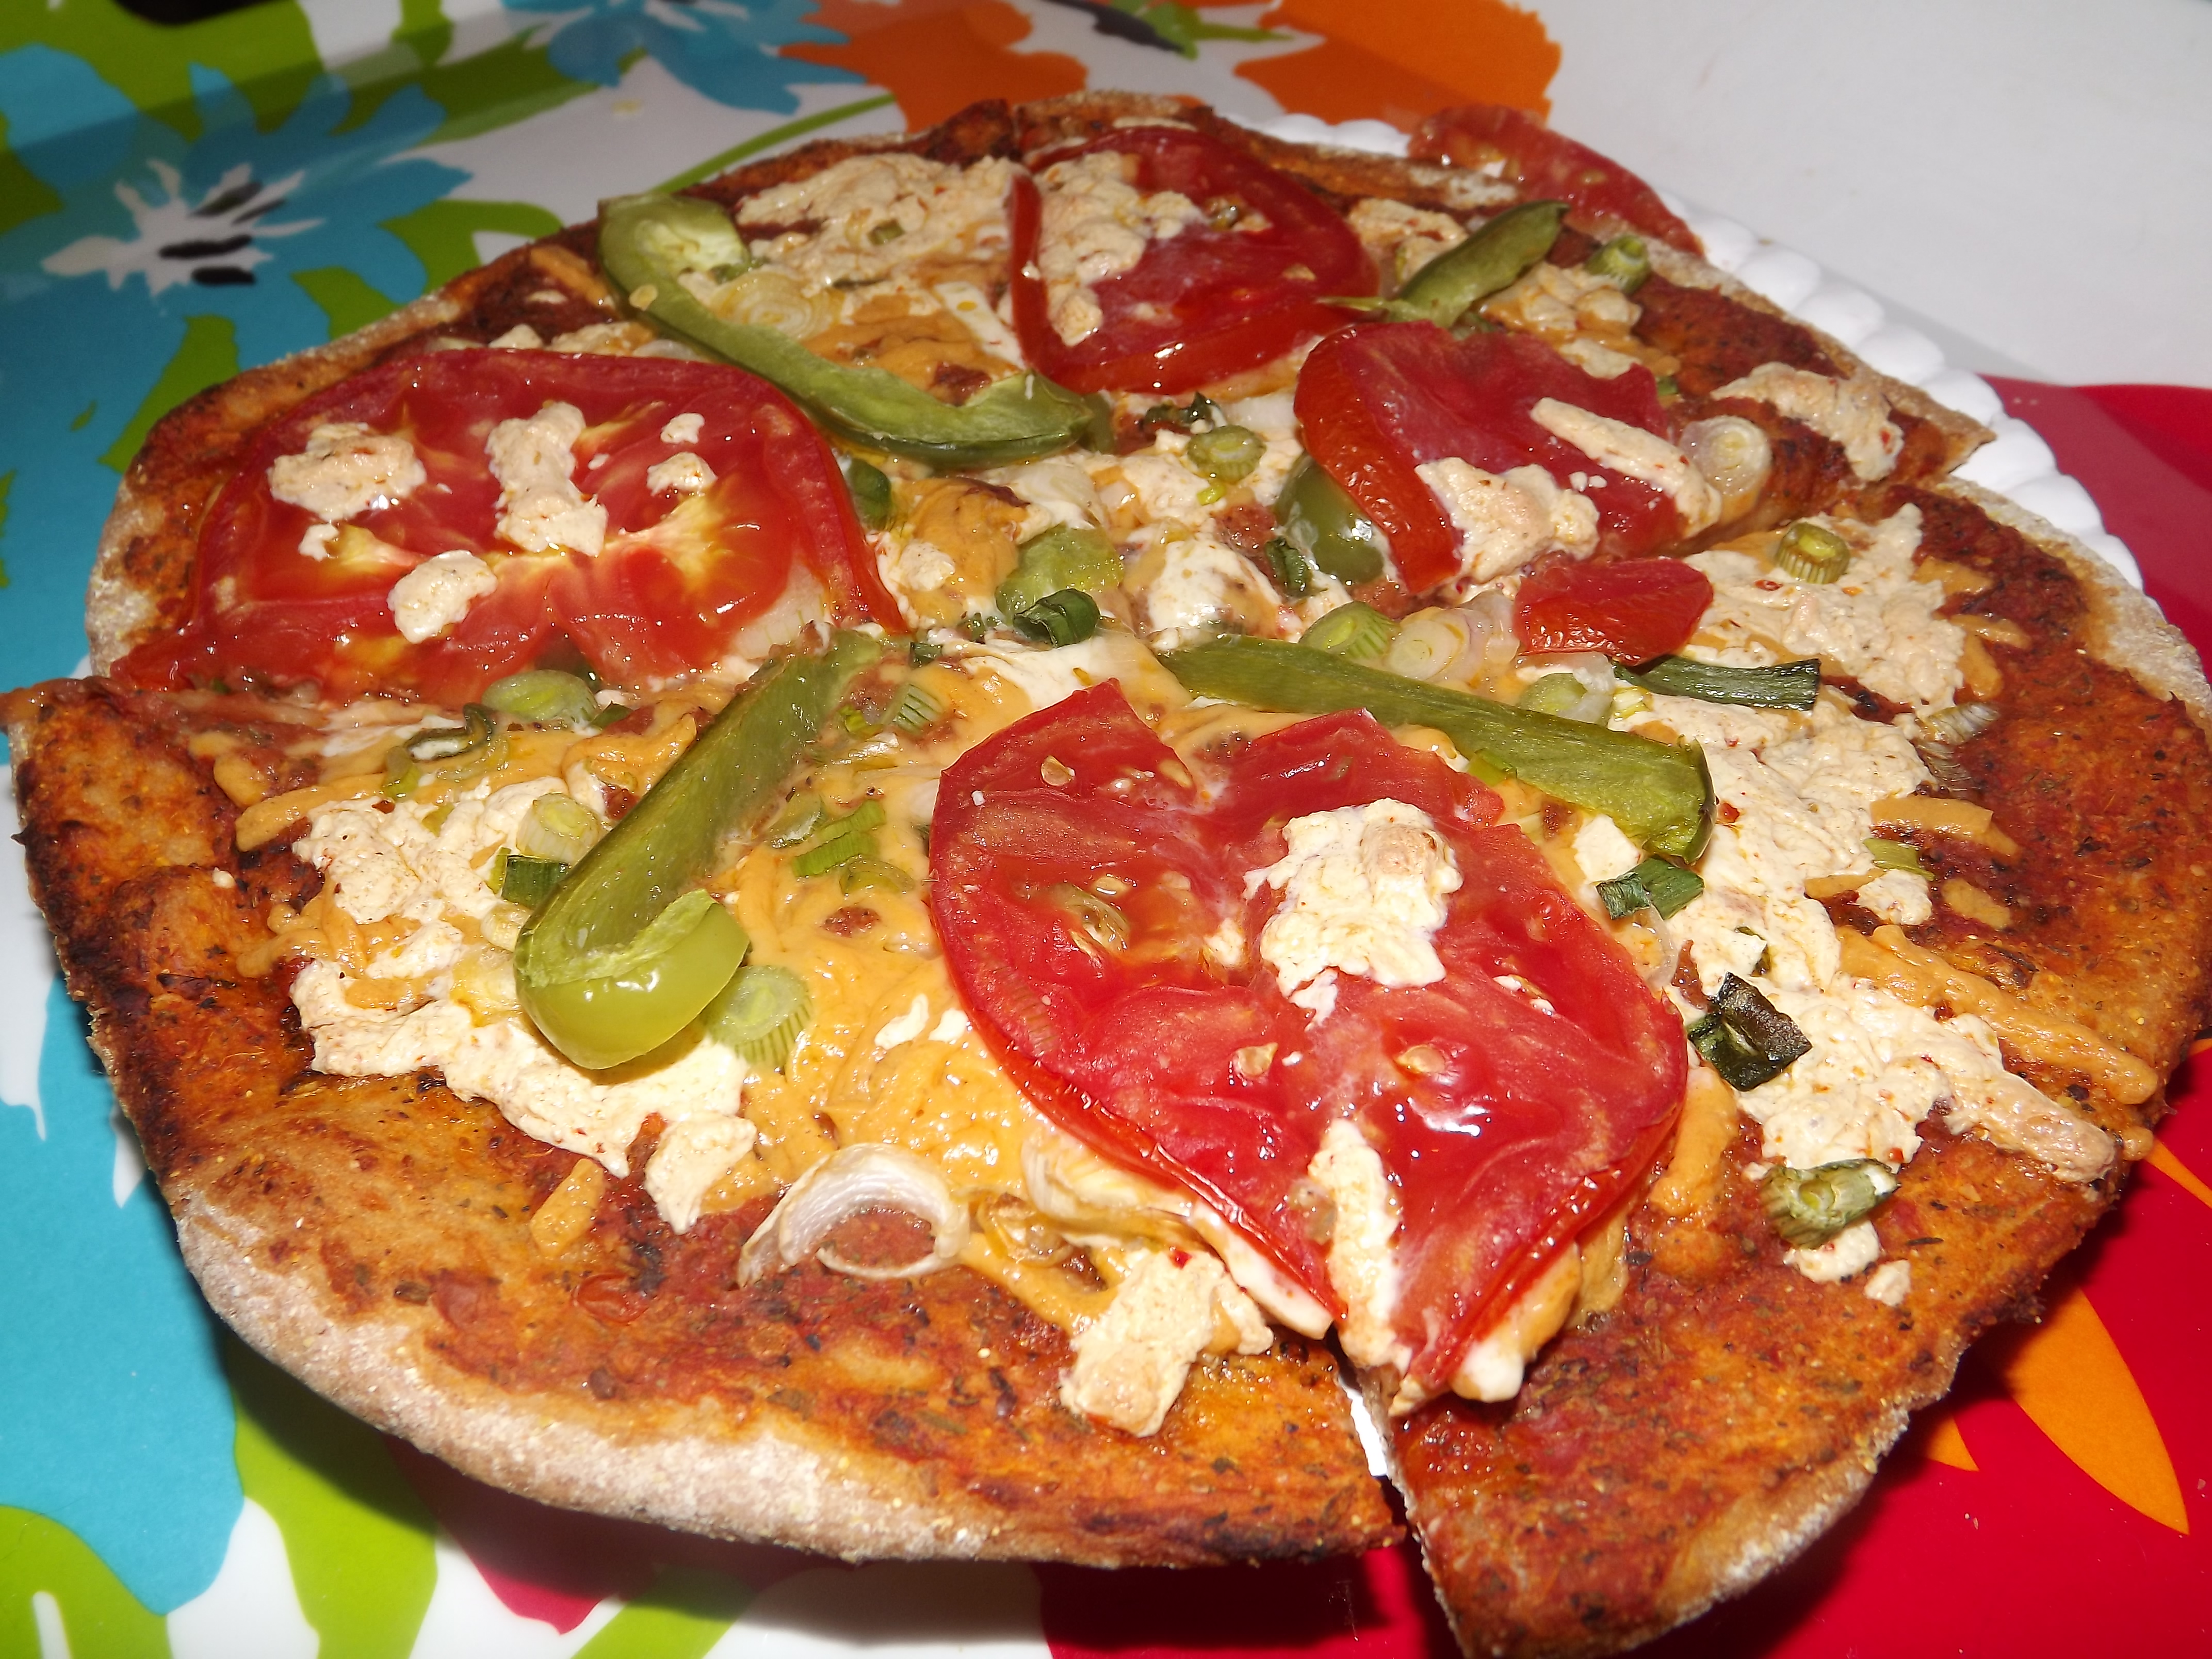
Tortillas are one of those things most people never make homemade and that’s a shame, because nothing completes a taco better than a warm freshly made tortilla. This recipe takes the plain wheat tortilla to the next level by adding rye and spelt for extra nutritional benefit as well as great flavor. Combined with sesame oil and extra spices of seasoning, this recipe will win anyone over, vegan or otherwise. Most healthy tortillas (not fully of chemicals or preservatives) are about 40¢ ea which is what I calculated this out to be if divided into 12, so you don’t really save any money, however it’s worth it. Oh and if you’re saying that you can buy a package of tortillas for 2 dollars and you get 10 so that’s 20¢ each, I invite you to read the labels. Chances are the ingredients look like this:
This is the actual ingredients list of a well known brand of “wheat” tortillas. (click here to see the brand and where I’m talking about) I’ll stick to my simple ingredients. With the exception of the Mrs. Dash and the sesame oil, everything in my recipe was organicly purchased so take that into consideration when inspecting the price.
Ingredients:
1/2 – 2 cups warm water
3 cups whole wheat flour, finely ground works best
1 cup spelt flour
1 cup rye flour3 tablespoons oil *see note*
1/4 teaspoon salt **see note**
optional:
3 tablespoons oil *see note*
seasonings (I used chipotle powder and Mrs. Dash)
1 teaspoon yeast (gives great flavor)
Also suggested for this recipe is a cast iron griddle, this gives it lots of extra flavor.
Directions:
In a large sized bowl add your flours, yeast, salt, seasonings, and oil. Stir with a spoon until the oil starts to clump and you mix the flours well. Slowly mix in your hot water, you may need more or less depending on the types of flours you use. I used 2 cups minus 2 tablespoons. The trick is to get a nice dough consistency, without making it too moist. In this case, less water is better. When your dough just starts to come together and it still kind of crumbly, turn the dough out onto a flat surface. You can do the kneading in a bowl, however it makes it more difficult, in my opinion.
With dry hands, knead the dough. Push down the dough with the bottoms of your palms, then raise the dough back up and turn sideways 90 degrees. Repeat this process until your dough is your desired consistency. For chewy and soft pliable dough like what you’d buy in the store, I suggest kneading vigorously for at-least 10 minutes. You will know your dough is ready for rolling when you can press your finger into the dough and it partly holds it shape, but mostly bounces back at you. The dough will also be very smooth and soft looking. For me it took about 16 minutes of average speed kneading. Technically, you don’t have to knead at all, but the consistency won’t be the same and since these are multigrain they might be a bit tough.
Divide your dough into equal sized portions. I decided to make 12 pieces out of this recipe, and they yeilded 8 inch tortillas, you make divide them into smaller or larger pieces to suit your needs. Roll out each ball into the desired size.
Heat your cast iron griddle over medium high heat, until a drop of water will dance on the skillet for 2 seconds before evaporating. Turn down your heat to just below medium, and add your dough. Pay attention not to let the dough fold over the edges, so it cooks evenly. Cooking time is about 30-60 seconds per side, depending on if you use a cast iron skillet or not. Add your rolled dough sheet onto the griddle and do NOT move it until you start to see bubbles appear on-top of the dough. Flip and wait another 30 seconds, then check your dough. If the other side is browned slightly, then it is done. Repeat this until all your tortillas are cooked and Enjoy!
Heres a great tip: Take a skillet with a lid and place a towel or cloth into the bottom. Place your tortillas in this pot once cooked and replace the lid. The towel prevents the steam collecting and turning your tortillas soggy, while keeping the tortillas nice and soft.
To reheat these you can slightly warm in an unoiled skillet or place however many you need on a place, cover with a dampened paper towel and place into the microwave for 30-60 seconds or til heated through. (I do not endorse the use of microwaves, however I know some people use them)
*note: I like using 2 tablespoons sesame oil and 1 tablespoon neutral oil like grape-seed to give extra flavor to the tortillas, however you may use any kind you want, or you may omit it all together. However, oil helps keep the tortillas pliable.
**note: If you are using a seasoning mix that contains salt, do NOT add the additional salt.
Nutritional Information is based off 12 servings (as shown in video) and assumes you used the same ingredients I used. Yours may vary.
For the original version of this recipe, click HERE. The process is the same.
Author: FaylinaMeir
Serves: 1 large crust
Ingredients
1 cup spelt flour (or any other glutenous flour)
1 cup whole wheat flour
1 tablespoon yeast
1 tablespoon brown sugar
¾ cup warm water (between body temp and 110 degrees Fahrenheit)
extra flour for rolling
1 tsp cornmeal for dusting *optional but suggested!*
Instructions
In a food process, add your flours, yeast, and sugar. Pulse a few times to combine the flours. Now take off the insert cover and with the food processor running add the water in a little bit at a time. The trick is to just add the proper amount of flour so that it is neither too hard nor soft. You will know you have the perfect amount of water when the dough starts to ball up. It will hold it’s shape and if you poke the dough it will “hold†the hole. When you get to this stage, let the food processor run for 2 minutes to activate the gluten.
After two minutes, you may notice your dough got really tacky. This is from using whole grain flours or thicker milled flours like what I used. Don’t be alarmed if this happens. Scrape the dough out of your food processor container and you have a couple choices. Either take your dough and place it into a bowl covered with a damped warm cloth and place in your oven for at least 1 hour until doubled in size OR scrape the dough out of your food processor, remove the S blade and replace the dough back into the food processor container. Replace the lid and let set covered for 1 hour or until doubled.
After the dough has doubled in size, scrape it out onto a floured work surface and start to roll it into your desired shape. Rub on extra flour as needed to prevent the dough from sticking to the works surface or the rolling pin.
Once you get your desired shape, rub some extra-fine ground cornmeal into the top of your dough. When you go to add toppings, flip the dough over. This small bit of cornmeal is the trick to nonstick pizza. Congratulations, you have now made a basic pizza crust!
Notes
This dough does not need to be pre-baked, so top it with sauce, veggies, and cheese and bake it. I suggest 425 for 18 minutes.
Calories are for the whole crust. Divide accordingly!
In a food processor add 1 tablespoon yeast and sugar. Add 2 cups of whole wheat flour and pulse a few times to mix the ingredients. After ingredients are mixed, turn food processor ON and slowly add your water until the dough comes together and pulls off the side of the bowl. You may need more or less than ¾ cup water so add very slowly. Once the dough starts to pull off the side of the bowl, continue processor about 1 minute. This step is important so you get the gluten developed and the end product is alot better. Now do one of two things:
If your food processor is like mine, where the center can be removed and the blade, remove them and put the dough back in and let rest for 60 minutes in a warm place or until doubled in size.
OR
If your food processor does not disassemble, put your dough into a LIGHTLY oiled bowl, preferably glass and cover with a some-what tight fitting cover (plastic wrap works if you have nothing else), let rise for 60 minutes in a warm place or until doubled in size.
After your dough has doubled in size, remove it from the container and roll it out to your desired thickness, I suggest using some corn meal (NOT corn starch/flour that's different) for dusting on your work surface to prevent sticking. When you get to your desired thickness, add cornmeal to the pizza by sprinkling it on and rubbing your hand in a circular motion to "grind in" the meal.
Flip the dough over onto your pizza stone or pan top with your desired sauce and toppings. Bake normal or 425 for about 15-25 minutes depending on thickness. Thin crust pizza tastes only about 15 minutes with toppings. Thicker crust may take 25 or more, depending. I do not know cooking time for deep-dish, no one in my family likes this type of pizza. Enjoy!
Notes
Makes enough for 1 large pizza, 2 thin crust or 3 mini pizzas.