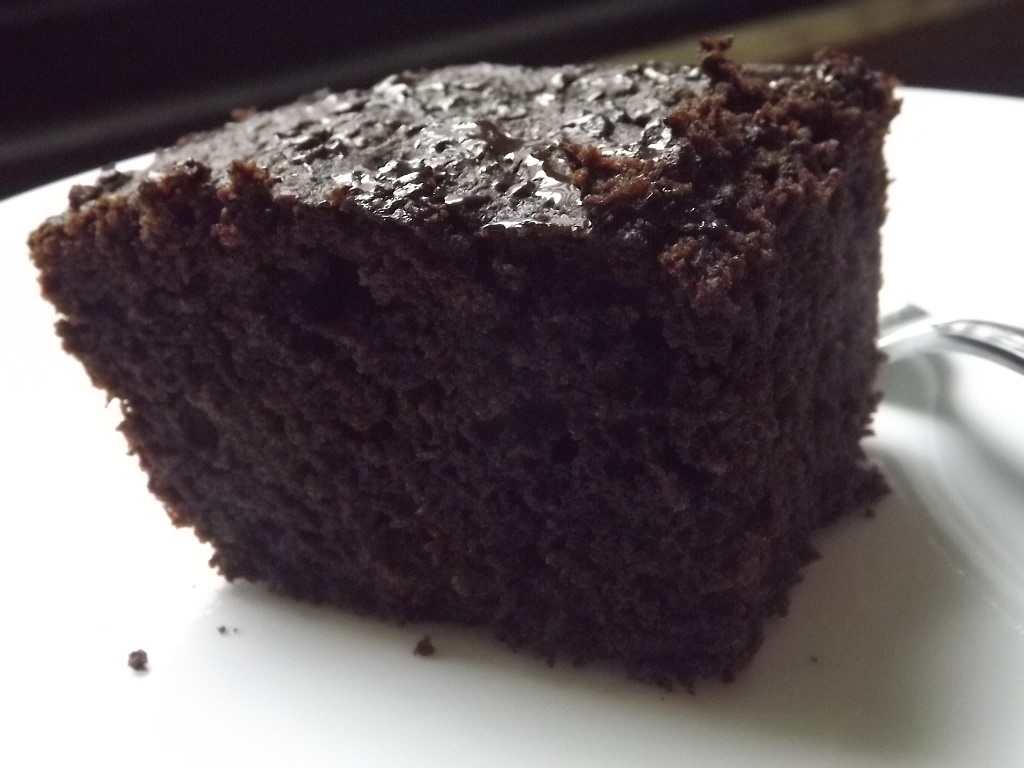
I got this craving for a brownie so I went to the kitchen and threw stuff together and it worked! That is literally how this came to be.
Author: FaylinaMeir
Serves: 6 pieces
Ingredients
½ cup Coconut Flour
¼ cup Tapioca Starch
¼ cup Toasted Carob Powder (or ¼ cup cocoa powder)
½ tsp, Baking soda
1 tsp Baking Powder Aluminum Free & Double Acting
3 eggs
¼ cup plus 2 tablespoons Coconut Milk
¼ cup Honey
1 tsp Pure Vanilla Extract
2 tsp apple cider vinegar
2 tablespoons Coconut Oil
Instructions
Preheat your oven to 350f (175c).
In a large bowl mix together your eggs and honey until well combined. Then add your apple cider vinegar, vanilla, coconut milk, and coconut oil. Don't worry if your coconut oil forms little solid pieces, this is actually what you want because when the brownie bakes it makes these yummy little pockets. Make sure you whisk this together very well, you don't want the oil chunks very large.
In another bowl, mix the rest of your ingredients together well. You don't want any lumps.
Grease your baking container well; I used a glass loaf pan. Don't use a large pan if you want these to be taller. Once your oven is well preheated, mix your dry ingredients into your wet ingredients and whisk til there are no lumps. Scrape your batter into your container and even it out.
Bake in the middle of your oven for 25-35 minutes (see notes). I like my brownies well done so I went the full 35 minutes. A toothpick inserted into the middle will come out clean. Let cool in the pan for at east 10 minutes. Serve warm, and try some butter on top, it tastes amazing!
Notes
If you want more fudgy/gooey brownies only bake it about 80% done, about 25 minutes. A toothpick will come out almost clean and might be a little jiggly in the middle. Let cool at least 20 minutes.
For the longest time the only veggie chip I heard people talk about was kale chips. While kale chips are nice, I find kale in my area to be VERY expensive, especially when I like to buy organic. So I adapted my kale chip recipe to fit Swiss chard! Everyone and their raw foods mother has a kale chips recipe it seems, this just happens to be my favorite. Raw, vegan friendly, gluten free, low calorie, and kid friendly. This recipe really does have it all. Its the perfect snack to eat when you’re tempted by worse. Not something I suggest eating everyday, but in moderation these little treats are heavenly!
____________
Ingredients:
2 large bunches Swiss chard (or any other dark leafy green, Kale or collard greens work well also), de-stemmed & washed WELL
1 cup cashews
2 medium/large bell peppers, seeded
1/4 – 1/2 teaspoon pink salt
1 tablespoon nutritional yeast
1 tablespoon honey or other liquid sweetener (you can also use stevia with a splash of water if needed)
juice of 1/2 a lime or 1/4 of a lemon
*optional*
**1-2 extra tablespoons nutritional yeast for sprinkling
** chili peppers or cayenne pepper for a spicy chip
Directions:
In your blender or food processor combine your bell pepper, sweetener, salt, citrus juice, cashew, and any optional spices. Blend until your desired texture. I choose to leave mine a little chunky so you get bits of cashews on your chips, however, most people enjoy creamy topping on their chips.
De Stem & wash and completely dry your Swiss chard. Its VERY important your greens are dry otherwise your dressing will not stick to them. In a large bowl, combine your dressing and your greens. Toss to coat each piece. Get your dehydrator trays ready, teflex sheet is optional, but it does help in the cleaning process. Arrange your greens in an even single layer. Toss with additional nutritional yeast for an extra cheese-y flavor if desired! I tend to use 1 extra tablespoon per bunch, however you can adjust this to your taste.
Dehydrate them anywhere between 100-115 degrees for a minimum of 12 hours. I tend to go about 24, just because this is a “set it and forget it” recipe. Of course you could eat these right away, but try to resist that urge so they turn out like chips! =D
After 12-24 hours your chips will have shrunk a lot and will be very crispy and chip-like. Store in zipper bags or storage containers at room temp for 2-4 weeks, depending on your environment, but honestly I doubt they’ll last this long!
Makes: approx. 4-8 servings, Preparation: 15 minutes + 12-24 dehydrating hours (nutritional information shown is for 1/4 entire recipe)
dietary notes: this recipe is raw, vegan depending on the sweetener, gluten-free to my knowledge, low calorie, does contain tree nuts.