2 lbs Roma tomatoes, cored and seeded
1 tablespoon olive oil or grape-seed oil
1 tablespoon Italian seasoning mix
1 1/2 tablespoons oregano
1 heavy pinch red pepper flakes (optional)
1/2 teaspoon freshly cracked black pepper
1 1/2 tablespoons minced garlic
pinch salt or to taste
optionally to thicken: 1 – 2 tablespoons ground flax seeds or half that amount in psyllium husk or ground chia seeds
Directions:
To start out you need to prep your tomatoes by coring them. The best way to do this is to use an apple corer or you can cut the tomatoes in half and use a V cut to remove the core. Then you need to scrape the seeds out using your fingers. While not required, it helps to remove extra liquid and makes the cooking time faster. (don’t throw the liquid and core out, I ate it with a little tabasco as a virgin bloody Mary shot (lol) however you can add this to a salad dressing for extra nutrition or in your morning juice)
In a larger sized skillet add 1 tablespoon grape-seed or olive oil and swirl it coat. Heat on medium high until hot. You can test the heat by adding a few pieces and waiting for them to sizzle. Once hot, slowly add all your tomatoes in as to not splash the oil. Now add your seasoning. I prefer Italian seasoning blend, freshly ground black pepper, and extra oregano with a pinch of hot pepper flakes however you can change these to your specific tastes. Optionally you can add 1 1/2 tablespoons garlic, mined finely. I used a pre-minced version although 5-6 garlic cloves will equal the same amount. Now carefully stir the seasoning. Cover with a lid and cook for 5 minutes, still on medium high, without opening the lid.
After 5-6 minutes remove the lid and stir. At this point your tomatoes should be basically falling apart and super tender. If you have a stick blender you can whizz this up in a pan otherwise transfer to a blender container. Pulse blend for literally 5-10 seconds. Now optionally you can add a thickener like I chose to. I did this so the sauce would “feel” better on the pizza. Add 1-2 tablespoons flax meal to the blender WHILE RUNNING. If you just add this while not running you could just end up with a large ball of thickener. This is also the time to add any salt if desired. If you want you can use psyllium seed or ground chia seeds, however, I would half the amount of thickener as they set foods up faster.
At this point your sauce is ready for use on pasta, a sauce to dip your bread sticks into, or spread onto your pizza crust for amazing homemade pizza!
*Note* the thickener is not required however I find you get a better sauce with it added as most store bought sauces have some form of thickening agent. If you choose not to use it, you will need to cook for 2-3 times as long to get the same consistency OR your sauce is just thinner. It’s your choice, ENJOY! ^.^
Nutritional information is for 1 cup serving. Full recipe makes about 4 1/2 cups:
Never feel the need to purchase super salty, preservative ridden pizza sauce again when it’s this easy to make it at home. This makes enough for 1 large pizza or 3 mini/personal size pizzas.
Ingredients:
1 15oz can fire roasted tomatoes
1/2 tablespoon Italian seasoning blend
1 tablespoon oregano
2 tablespoon ground flax seeds
Directions:
In a blender, add your can of fire roasted tomatoes, and your seasoning. Blend until you get your desired consistency. Then add in your flax seed as your blender is running, this way it won’t clump up. Let set for at-least 5 minutes then its ready to be used on pizza or as a marinara dipping sauce. Its really easy and fresh! Enjoy!
Nutritional information will vary depending on which brand of tomatoes you use, and how much salt is in them. Try to use low or no sodium tomatoes packed in juice. The flax seeds add little fat and lots of omega fatty acids which we can all use more of =)
5 medium bananas, very ripe (Should be almost all brown and squishy)
1 cup unpacked brown sugar (dark is better but light will work)
½ cup regular sugar
¼ teaspoon salt
½ tablespoon baking soda
3 tablespoon ground flax + 8 tablespoons HOT water (mix well and let set 5 minutes)
¼ cup grape-seed oil (you can use olive oil if you prefer)
½ cup unsweetened applesauce
1 tablespoon vanilla extract (the real stuff only please)
¼ cup nondairy milk mixed with 1 teaspoon white or rice wine vinegar ***(see note)
2½ cups wheat flour (you may need more or less)
slightly less than 1 cup nuts, chopped **(see note)
Instructions
In a small bowl add your ground flax seeds and HOT water (I cannot stress how important HOT water is), stir well so there are no lumps and let set aside for about 5 minutes. Also preheat your oven to 350 degrees Fahrenheit (180 Celsius or gas mark 4).
In a large bowl, combine your bananas, sugar, vanilla, salt, applesauce, baking soda, oil, and nondairy milk. Using your hands (which I did) or a potato masher; mash until the lumps are less than 1 centimeter (1/4 inch) or til desired smoothness. I like to leave tiny lumps so you get bites of banana, but this is up to you.
Check your flax "eggs", if they are snotty in texture and thick; they are ready to go in the bowl. If they are not, let set another couple minutes, then add to large bowl.
Mix in your flax eggs well. Now start to mix in your flour ½ cup at a time using the folding method. I suggest using a flexible spatula for this. Circle your bowl to scrap the sides down, and cut through the middle until your flour disappears and there are no huge pockets of flour in the mixture. Repeat this for 2 cups total of flour. Now look at your mixture, is it thick, kinda snotty and holds together well? If the answer is yes, then stop. If you think it needs a little more then add the remaining ½ cup of flour. If for some reason your bananas were huge and its still too moist, add ½ more flour. There really is no reason to use more than 3 cups. Once your batter looks ready, fold in slightly less than 1 cup of nuts, your choice; make sure they are evenly distributed.
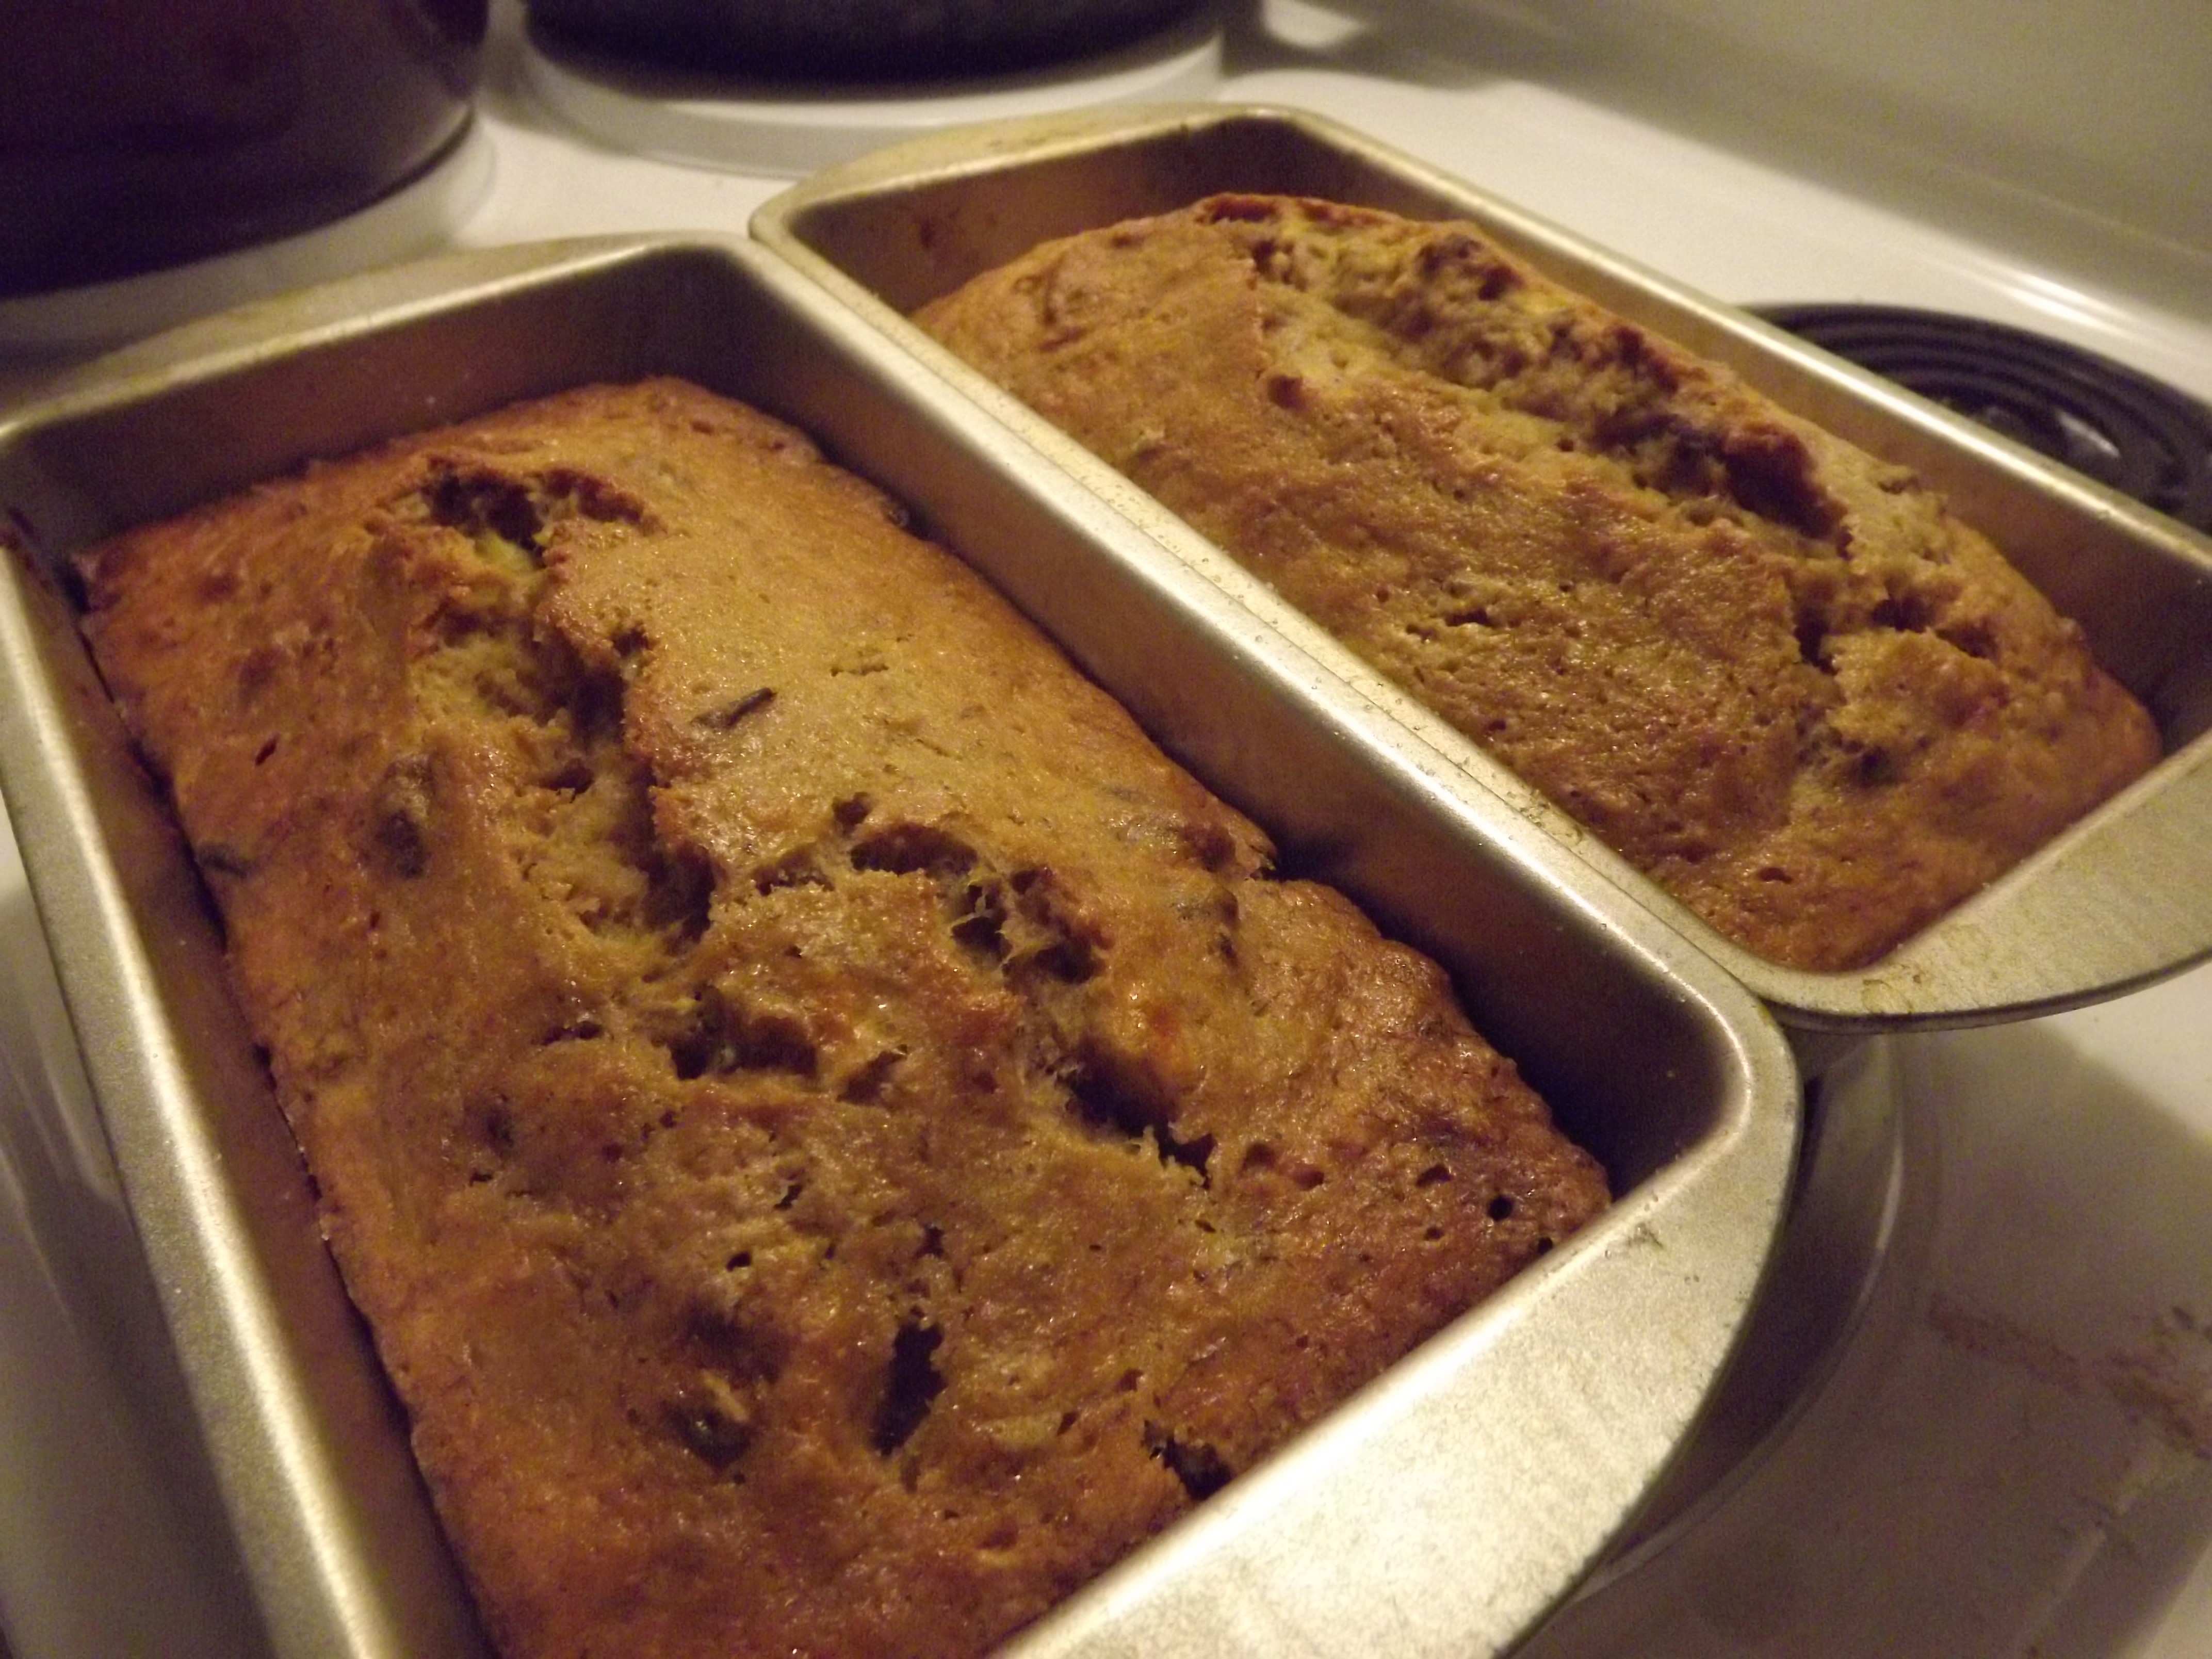
Get two regular sized loaf pans and spray generously with oil or grease well. Failure to do this will result in a bread you can't pry from the pan with a crowbar, you were warned.
Divide the mixture evenly between the two pans and lightly tap on the counter to remove air pockets. Bake at 350 for about 60 - 75 minutes. A toothpick inserted in the middle of the loaf should come out almost clean (like 90%) if you wait for it to be completely clean, the bread will be crumbly and dry. Good with milk, not so much on it's own. Mine took 65 minutes.
At this point you can store them at room temperature (cool completely before putting in a container) or freeze them. My grandma used to wrap her breads in aluminum foil, then plastic wrap. Don't forget to date them. I wouldn't keep them in the freezer more than 3 months for best results. Thaw at room temperature completely before serving.
Notes
* A word on flax seeds. If you are baking for someone with an allergy you can use regular whole large sized eggs. Egg replacement powder isn't that great of an option here and extra bananas will not work either. Sorry =(
** A word on choosing nuts. I used pecans, which is all I had left. Traditional banana nut bread is made with walnuts, however you can mix and match to your taste. Try a combination of both or go for something different all together. You could also use sunflower seeds or pumpkin seeds if someone is your family has a tree nut allergy. Better safe than sorry!
*** A word on nondairy milk. In this recipe I used a homemade brown rice milk that was just rice and water with some vanilla, however you may use any type of nondairy milk. Be careful if choosing a strong flavored milk like mung bean or hemp milk. These will alter the flavor of the end dish. Also, coconut milk should be avoided unless you want coconut banana bread. (that does sound good though! 😉
Flax crackers is a food all most EVERY raw foodist knows how to make/ has had at some point in their life. While I wouldn’t eat these all the time, they are a great snack. Use two crackers and make a sandwich, raw food pizza, or crumble onto a salad for raw food croutons. All you need to make flax crackers is flax seeds and water, however I have given my recipe for “everything crackers”, similar flavored to an everything bagel, they are a great snack. Feel free to add anything you life as flavoring and remember, these are basic “quick” style crackers. I show you guys the longer version later.
Ingredients:
1/4 cup Ground flax seeds
1/2 cup Whole flax seeds
1/4 – 1/2 cup warm water
pinch salt
(optional:)
1 tsp low sodium soy sauce (Bragg’s, nama shoyu)
1/3 teaspoon garlic powder
1/4 teaspoon onion powder
1 teaspoon poppy seeds
1/4 teaspoon paprika
1/4 teaspoon tumeric powder
1/2 teaspoon psyllium husk powder***
Directions:
In a bowl mix together your flax seeds and any desired spices and mix to coat seeds with spices. You can use all ground flax seeds, which I usually do; however I was out of ground (and it was too late to grind them), or you can do the combination I used. Add in your soy sauce if using and start with 1/4 cup of warm water. Mix well, you want it to be a thick paste and not too liquidy, however; If its too dry add extra water. Once you get the texture right, let it sit for 5-10 minutes to “set-up”. Most people skip this step but I find you’ll get more uniform crackers if you let it set before spreading on the sheets. ***If after 10 minutes you find your texture isn’t thick enough or it doesn’t stay together well enough, add 1/2 teaspoon psyllium husk, this is optional but it definitely does help thicken it up.
Set your dehydrator to 105 degree farenheight. Spread your mixture over the tef-flex sheet to about 1/8th – 1/4th inch (drying time varies depending on size, just do the thickeness you like in non-raw crackers). Try to make it uniform so it dries evenly. Dehydrate for 4-6 hours and flip, you do not need the tef-flex after you flip it. Dehydrate another 4-6 hours or until crispy. I usually go longer than needed because we get busy, thankfully crackers aren’t harmed by going longer, so don’t worry if you don’t get it right!
Makes 1 larger sized cracker, break into 4 pieces and you’re all done!
Whole wheat multi-grain bread can be a healthy addition to any diet, far superior to white bread or even simple wheat bread. Unfortunately a good loaf of multi-grain bread will cost between $4-$6, YIKES! Thankfully I have the perfect recipe for you guys. I used a combination of whole wheat flour, quinoa, pumpkin seeds, sesame seeds, and flax seeds to give amazing taste and nutirtion to this bread. Most impressively this whole huge loaf of bread cost less than $2.00 usd to make using ALL ORGANIC ingredients! YIPPEE! This recipe is also vegan friendly, just replace the honey with vegan sugar its just as tasty. So heres what you’ll need:
Ingredients:
3 cups whole wheat flour
1 cup or more hot water
1 tablespoon yeast
1 tablespoon honey or vegan friendly sugar
1 teaspoon salt
1 tablespoon oil
1 cup (or less) seeds, nuts,
or grains. I used:
1/2 cup white quinoa
1/4 cup pumpkin seeds
2T sesame seeds
2T flax seeds (mixed)
extra 1/2-1 tsp oil for bowl
Directions:
Atleast 1 hour before (preferrably 6-8 hours, soak your nuts/seeds/grains you intend to use for your bread. I choose flax, sesame, quinoa, and pumpkin seeds.)
When you’re ready to make bread, add your flour, salt, yeast, oil, and honey into a bowl. Stir for a few seconds to break up any big clumps. Then add your LIBERALLY rinsed seed mixture and stir until each little piece is coated with flour, this makes it easier in the mixing stage. Now add 3/4 cup of hot water, don’t add the whole 1 cup to start with as you might not need it. Mix with a spoon until dough starts to thicken, then continue kneading in the flour with the water by hand. Add 1 tablespoon of water at a time until the mixture it dough-like. I used 1 cup and 1 tablespoon of water, you might need more or less depending on the type of flour you choose to use. When the dough will form into a ball and is not sticky, spread a little bit of oil on the top and bottom of the dough ball, then oil the bowl and cover with a cloth and let double in size. I let it go for 40 minutes, admittdly I should have gone longer, but was in a hurry.
After the first rise, punch the dough down and squish into a ball. Then in either 2 loaf pans or ontop of  a flat sheet, shape the dough to the desired shape. I choose make a large flat-ish loaf, but you can do whatever you like. After you have formed the dough into the desired shape, cover again with cloth and let rise atleast 1 hour, or until dough has doubled in size again.
Once dough has doubled again, preheat your oven to 350 degree farenheight. Bake at 350 degree for 40-50 minutes or until dough is firm, you can also use an instant read thermometure, you’re looking for a temp of around 190-200 degree farenheight.
Let bread cool completely to room temp before storing to prevent molding. Enjoy!