This is my go to dressing. This recipe can be vegan friendly if maple syrup or another liquid sweetener like agave is used. It can also be a raw dressing depending on your ingredients. If making this for someone with gluten issues, please insure you use gluten free tamari/soy sauce, AND gluten free vinegar.
Ingredients:
1 cup grape-seed oil or extra virgin olive oil
1/4 cup sesame seed oil*
2 1/2 tablespoons whole sesame seeds
1/4 cup balsamic vinegar
1/4 cup soy sauce
1/2 – 1 teaspoon black pepper, freshly ground is best
2-4 tablespoons honey or liquid sweetener of choice**(see notes)
Ginger***(see notes)
Directions:
In a large bowl (high sided works best), add in your vinegar, soy sauce, and honey or other sweetener. Slowly whisk in 1/2 cup of oil. This should take 1-2 minutes of vigorous whisking. The trick is to make a dressing and not oily vinegar, there is a difference. Once you have 1/2 cup of oil in, try your sauce and if desired add the rest of the oil. At this point if you’re using it, whisk in the sesame oil as well. Once all your oil is whisked in, add your extra flavors or extra sweetener if desired. I used whole sesame seeds and black peppers. Stir in and you are done!
To store this dressing use a mason jar or repurposed glass jar with a tight fitting lid OR use a VERY well cleaned salad dressing bottle, I like the ones with the caps on the lid that restricts the amount that comes out at one time. In the fridge this will last for weeks, maybe a month or so I have never tried it that long. Before using, shake really well to re-emulsify and you’re ready to go.
*If you do not want to use or don’t have access to sesame oil, you can substitute it with regular oil or leave out entirely.
**If you are vegan or simply do not use honey, feel free to use maple syrup or agave. If neither appeal to you, try making a simple syrup by boiling 1/4 cup water with 2 tablespoons sugar. Whisk well to ensure no grainy texture. Once cooled, substitute this in for honey. Start with 1 tablespoon and try it from there as this changes the flavor.
***If you want to add a ginger flare to this dish, use a microplane or fine tooth grater and grate some ginger into the bowl. I would suggest 1/2 – 1 tablespoon. Whisk this in with the sesame seeds. Optionally you can add other flavors such as fresh garlic or chili flakes to change the flavor.
PLEASE TAKE NOTE: If you are making this and/or cooking for someone with gluten allergies or celiacs disease. Make sure to purchase ingredients that are certified gluten free, and clean your utensils very well. Better safe than sorry.
Nutritional information is per tablespoon, Thanks!
So I’m a notorious insomniac and usually don’t go to bed until around the time the sun is going to come up! Lately I have been making a big effort to not do this anymore. I will talk about this more later, but I needed to share that so you would understand how amazing it was I was up at 8am on a Sunday morning! I admittedly haven’t gone to a farmers market lately due to various reasons, but I was so happy to go. I woke up my husband and we walked the 2 miles to the market. I was pleasantly surprised that more of my favorite vendors had started doing the Sunday market. I think I did very well with my purchases. I did “splurge” a little on things like the onions and peppers, however they were needed for recipe videos like Tofu Scramble and Pickled peppers mix! (videos coming soon, promises!)
Here is what I purchased with totals:
2 cans Dole pineapple juice (not from concentrate) $1.50 ea
1 free water bottle (BPA Free)
2 free packages Dill pickle canning mix
2 free package instant pectin
3.5kgs tomatoes, red/yellow mixed. $11.00 total
just over 1lb purple carrots, $2.75 total
1 bunch Italian parsley 99¢
6 HUGEÂ cucumbers $2.00 total
4 yellow onions $2.00 total
3 sweet peppers $1.00 total
6 HUGE zucchini $2.00 total
2 eggplant $1.00 each
1 heavy red cabbage $2.00
mix of 10 hot peppers $1.00 total
Total: $29.74!!!
My cat decided to come outside and inspect my haul after we finished the video. I don’t share enough cat photos, so you’re welcome! ^.^& before anyone gets stupid, no I wasn’t choking her, its just looked like that because I was holding her under her arms.
2 lbs Roma tomatoes, cored and seeded
1 tablespoon olive oil or grape-seed oil
1 tablespoon Italian seasoning mix
1 1/2 tablespoons oregano
1 heavy pinch red pepper flakes (optional)
1/2 teaspoon freshly cracked black pepper
1 1/2 tablespoons minced garlic
pinch salt or to taste
optionally to thicken: 1 – 2 tablespoons ground flax seeds or half that amount in psyllium husk or ground chia seeds
Directions:
To start out you need to prep your tomatoes by coring them. The best way to do this is to use an apple corer or you can cut the tomatoes in half and use a V cut to remove the core. Then you need to scrape the seeds out using your fingers. While not required, it helps to remove extra liquid and makes the cooking time faster. (don’t throw the liquid and core out, I ate it with a little tabasco as a virgin bloody Mary shot (lol) however you can add this to a salad dressing for extra nutrition or in your morning juice)
In a larger sized skillet add 1 tablespoon grape-seed or olive oil and swirl it coat. Heat on medium high until hot. You can test the heat by adding a few pieces and waiting for them to sizzle. Once hot, slowly add all your tomatoes in as to not splash the oil. Now add your seasoning. I prefer Italian seasoning blend, freshly ground black pepper, and extra oregano with a pinch of hot pepper flakes however you can change these to your specific tastes. Optionally you can add 1 1/2 tablespoons garlic, mined finely. I used a pre-minced version although 5-6 garlic cloves will equal the same amount. Now carefully stir the seasoning. Cover with a lid and cook for 5 minutes, still on medium high, without opening the lid.
After 5-6 minutes remove the lid and stir. At this point your tomatoes should be basically falling apart and super tender. If you have a stick blender you can whizz this up in a pan otherwise transfer to a blender container. Pulse blend for literally 5-10 seconds. Now optionally you can add a thickener like I chose to. I did this so the sauce would “feel” better on the pizza. Add 1-2 tablespoons flax meal to the blender WHILE RUNNING. If you just add this while not running you could just end up with a large ball of thickener. This is also the time to add any salt if desired. If you want you can use psyllium seed or ground chia seeds, however, I would half the amount of thickener as they set foods up faster.
At this point your sauce is ready for use on pasta, a sauce to dip your bread sticks into, or spread onto your pizza crust for amazing homemade pizza!
*Note* the thickener is not required however I find you get a better sauce with it added as most store bought sauces have some form of thickening agent. If you choose not to use it, you will need to cook for 2-3 times as long to get the same consistency OR your sauce is just thinner. It’s your choice, ENJOY! ^.^
Nutritional information is for 1 cup serving. Full recipe makes about 4 1/2 cups:
2lb ripe tomatoes (I used two HUGE beefsteak tomatoes)
1 regular size French style baguette
2 tablespoons minced garlic, divided
1/4 cup grape seed or olive oil
1 1/2 tablespoon dried basil
1/2 medium onion,sweet yellow or red
half bunch Italian parsley, minced VERY fine
1 tablespoon balsamic vinegar
pinch salt or to taste
few cracks black pepper or to taste
Directions:
Start by turning your broiler on. If using an electric stove like myself, move your racks to the middle, doing this step ensures your bread will toast evenly.
With a sharp, serrated knife slice on the diagonal down your baguette about 1/4 inch slices. You will get about 20-24 slices depending on size. Place these on a tray in a flat even layer and set aside. Take a small pan and add 1/4 cup grape-seed oil (you may use extra virgin olive oil also), along with 1 tablespoon of your finely minced garlic, and 1 and 1/2 tablespoons of dried basil. Put the heat on low and just let slowly heat up, DO NOT rush this. The object of this is to perfume and flavor the oil, not to cook the dried herbs. If you rush this, you will burn the basil and your bread will taste terrible.
Cut your tomatoes into cubes less than 1/4 inch in size. The easiest way to do this is to put the tomato in half, then make 1/4 slices around the tomato. Take those slices onto your board then make long slices, turn those slices then cut long slices again, this will produce cubes. You NEED a sharp knife, if you do not have a sharp knife, you will mush the tomatoes (you could also harm yourself).
Cut your onion into small pieces. The easiest way to do this is to cut the onion in half the long way then cut off the top bit. Now hold the onion vertical and slice 3 cuts into the onion SLOWLY, so you don’t cut yourself, almost all the way to the root but leave a little uncut. This makes layers, now set your onion flat on your board and cut vertical strips along the onion. Follow the natural lines, as this will help. Finally, turn the onion and cut it up and down. Your end result are small pieces of onion. If you cannot do this properly, or don’t like this method. Simply slice the onion thinly and rock your blade around your board until the pieces are small OR use a food processor to pulse the pieces small, NOT puree.
Prepare your fresh Italian parsley (not regular parsley) by washing and drying the herbs. Cut thin slices all along the leaves until you get to the roots (we will not be using the roots however save them in a freezer bag for the next time you make broth/stock, adds amazing flavor). Rock and chop in all directions until your parsley is small pieces, you don’t want large pieces stuck in your teeth. You may have to pile the herb back up to help cut it.
By this time your oil and basil mixture should be starting to sizzle or bubble. Turn off the heat and let it naturally cool down just until it stops bubbling. In the mean time, add all your tomatoes, onions, and parsley into a bowl. Add a pinch of salt, a few grinds of fresh pepper, remaining 1 tablespoon of minced garlic (see video if using pre-minced garlic from a jar) and approximately 1 tablespoon of balsamic vinegar. Stir well, making sure not to squish the tomatoes though. Taste and adjust the seasoning to your liking, adding more salt or vinegar if needed. However keep in mind it’s not suppose to be super salty or sour, just a subtle hint of each.
Once your oil cools down, take a spoon (obviously metal so it doesn’t melt) and spoon a SMALL amount of oil on each piece and spread it around. Repeat for all the bread slices. Once all the slices are done, scrap off any LARGE clumps of garlic and basil. If you fail to do this step they will burn in the oven, which is not tasty. You also only need to oil one side of the bread. Once all the pieces have been oiled and scraped, stick them in your oven on high broil in the middle racks for about 60 seconds. You will need to watch these very closely. The point is not to brown the bread, but to lightly toast them so they do not go soggy with the addition of the topping. Once the tops are lightly toasted or JUST starting to brown around the edges, flip them all over with a heat proof tongs and replace in oven. At this point I like to turn off the broiler as the remaining heat is enough to finish the job. Leave them in there another 30-90 seconds or until they just start to get crispy. The way you tell is to lightly scrape your tongs or a fork against the top, if you hear a dry sound, they are done. Remove from oven.
RIGHT before serving (do not do this ahead of time) spoon on a couple tablespoons of your tomato mixture (be sure to stir first). Try not to get a lot of juice on the bread. Enjoy! A red wine goes great with this dish or these are great served before pasta dishes. To be honest with you, I just ate a ton of these by themselves for dinner and I was happy! ^.^
For a gluten free version, make sure to use a gluten free baguette or bread. For bread slices, cut them into triangles for a neat design. Toast as mentioned above and be careful you use gluten free vinegar. This recipe is naturally vegan friendly (always check bread ingredients though as some companies use milk).
For nutritional information, its for non-gluten free with 20 servings.
16 ounces peanuts dry roasted (unsalted is better, if you cannot find unsalted see notes**)
1 teaspoon good quality olive oil or grape-seed oil
1 pinch salt (see note*)
*Optionally* you can add 1 tablespoon sugar for sweetened peanut butter
Equipment:
You will need either a decent quality food processor or a high powered blender. Vitamix or Blendtec blenders are perfect for this! If you use a processor, make sure you scrap the sides down often.
Instructions
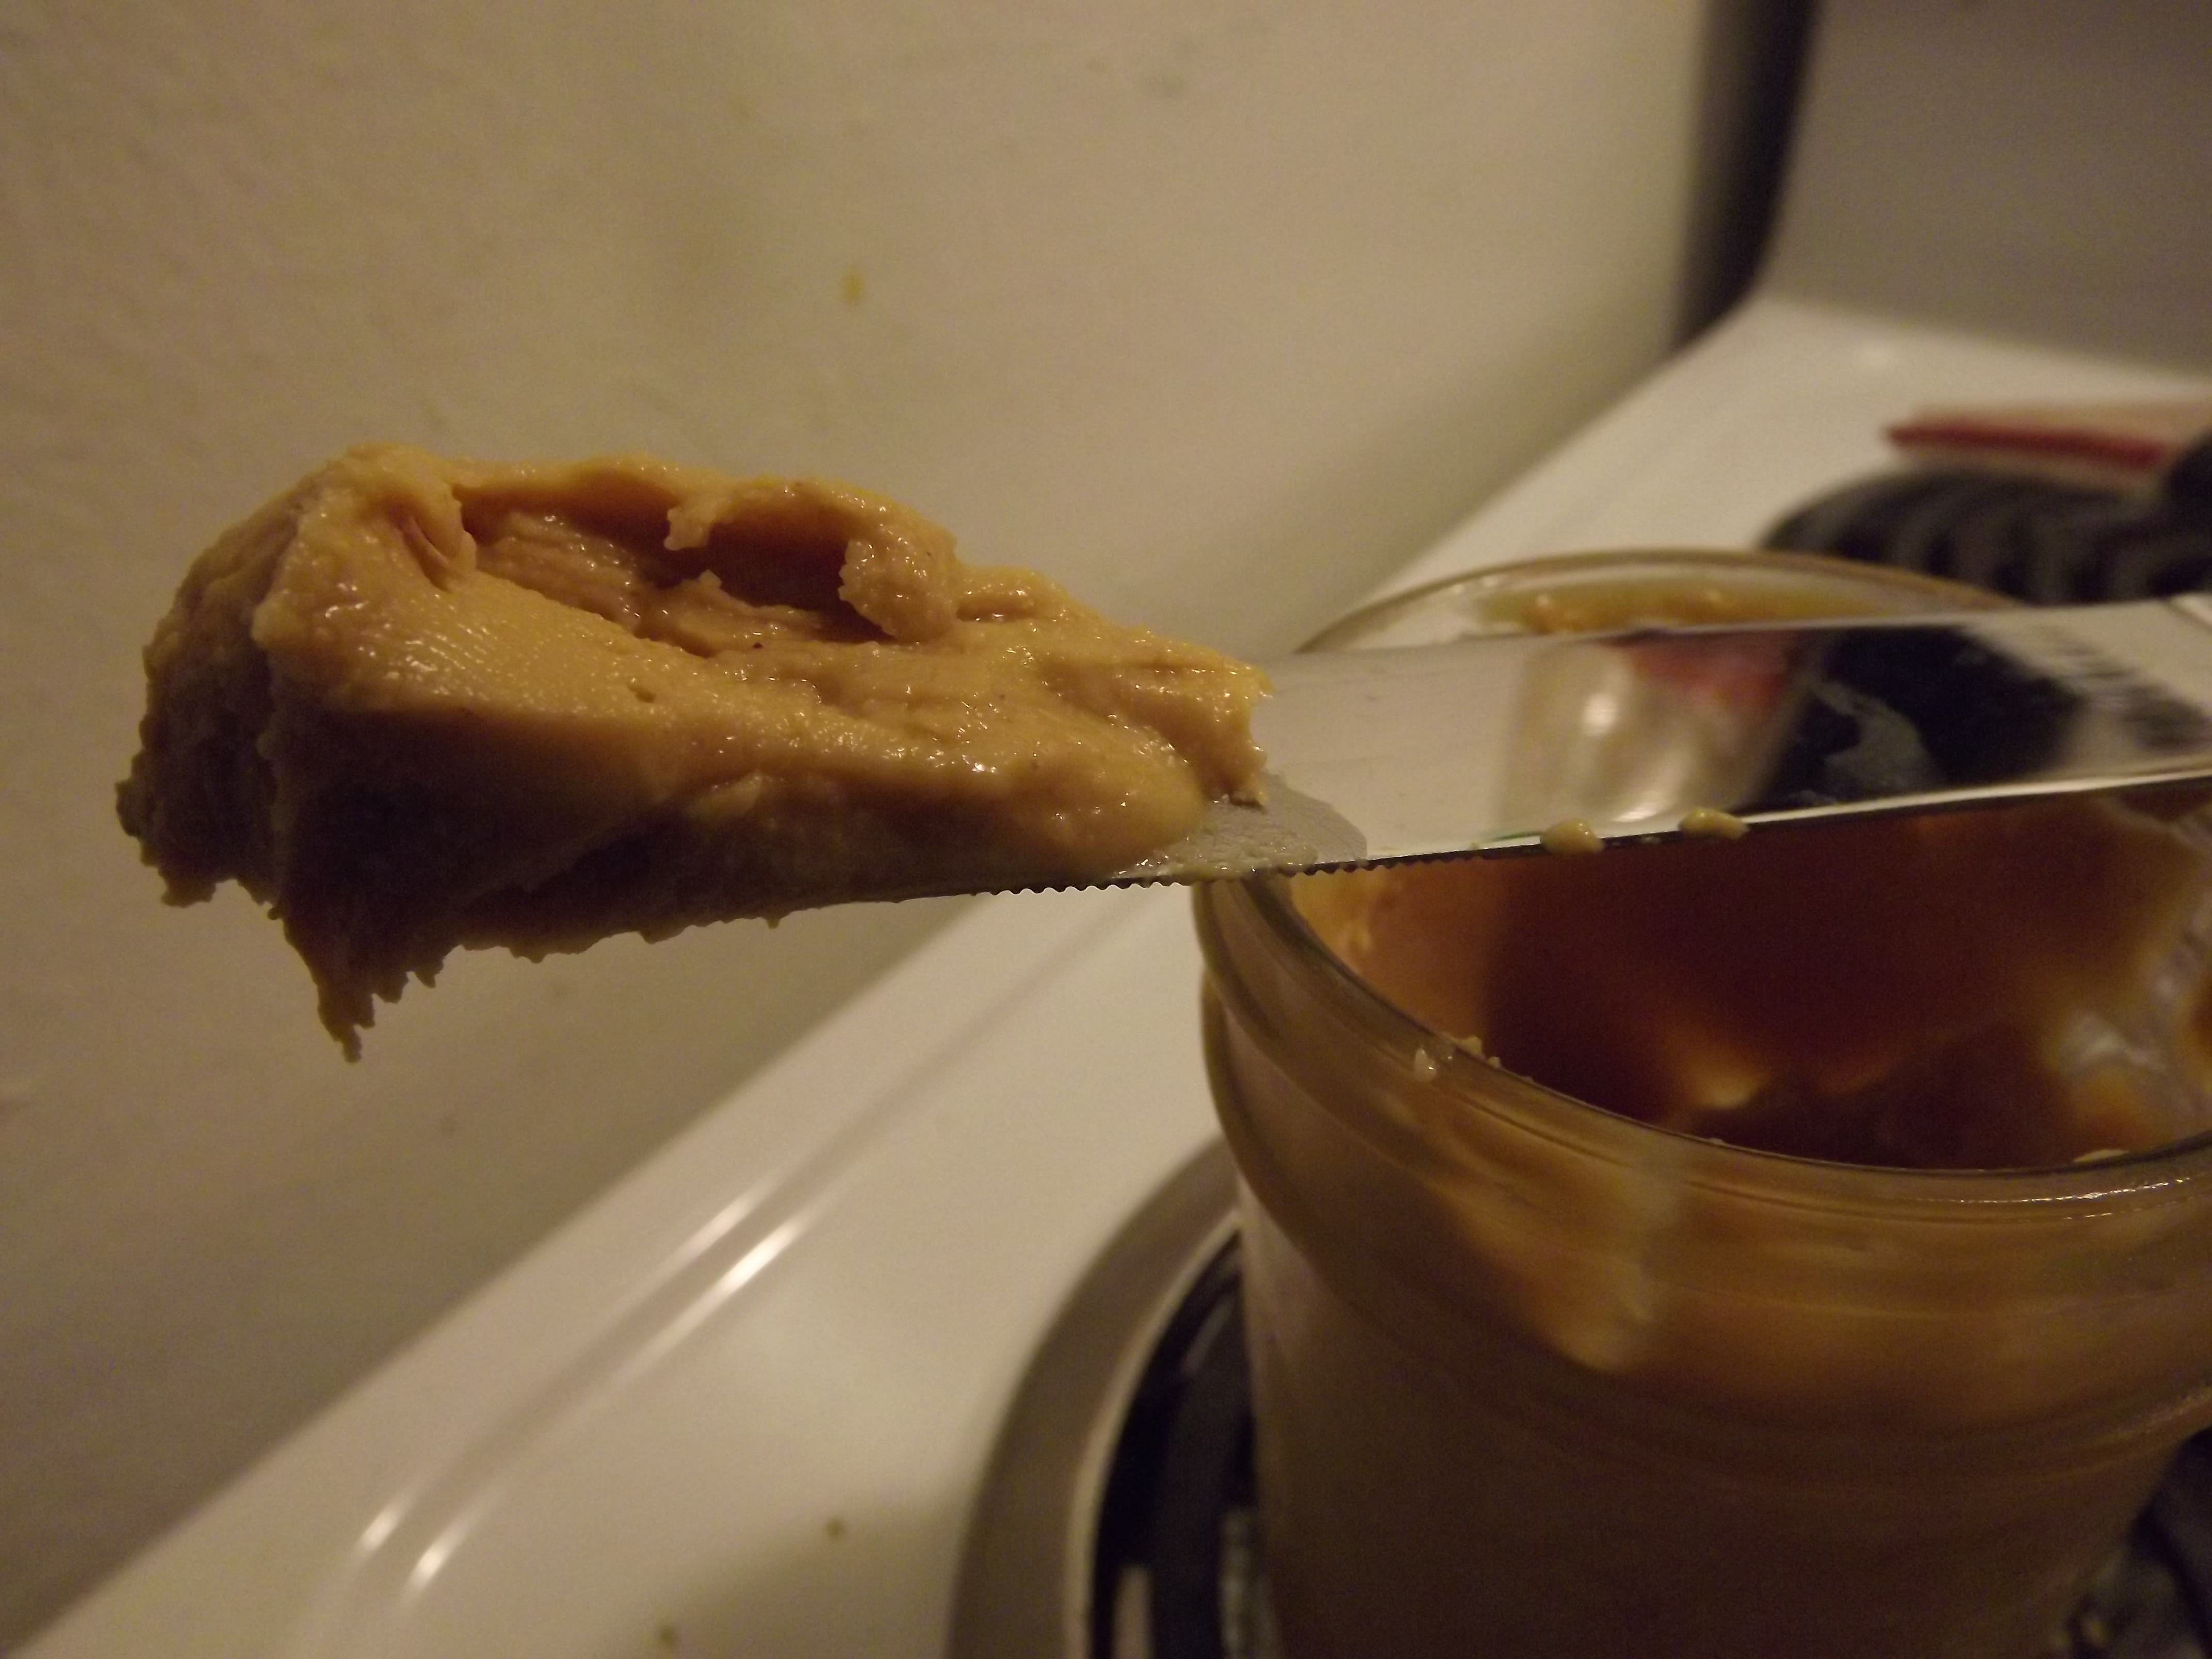
Place 16 ounces of roasted peanut into your blender (or food processor). If using a vitamix, you will need the tamper otherwise you will need a spatula to scrape down the sides. Add a pinch of salt if you're using unsalted peanuts. Process on high while tamping down the peanuts, OR blend on high until you notice the peanuts "climbing" up the sides of the container, then stop the blender (or food processor) and scrape the sides down and repeat. When you're almost to your desired smoothness, add the oil and any optional sweetener. Continue to blend, repeating the scraping process until you reach your desired texture.
Scrape your peanut butter into a container, I suggest glass. Place a tight fitting lid on and you're done! Homemade peanut butter will last 2 or so weeks in the fridge, however this stuff is so good, I doubt you'll make it that long!
Notes
Note: if you're using salted peanuts or do not want any salt in your peanut butter, omit the extra salt!
If you cannot find unsalted dry roasted peanuts, don't worry! You can wash half the peanuts in warm water and let air dry on a tray or cotton cloth overnight at room temperature, or in an oven at 300 for 15-30 minutes. Why should you do this? Because using salted peanuts will make the peanut butter WAY too salty. Not only will it tasted weird, we shouldn't eat all that sodium.