Appetizer / Breads / Recipes / Side Dish / Vegetarian
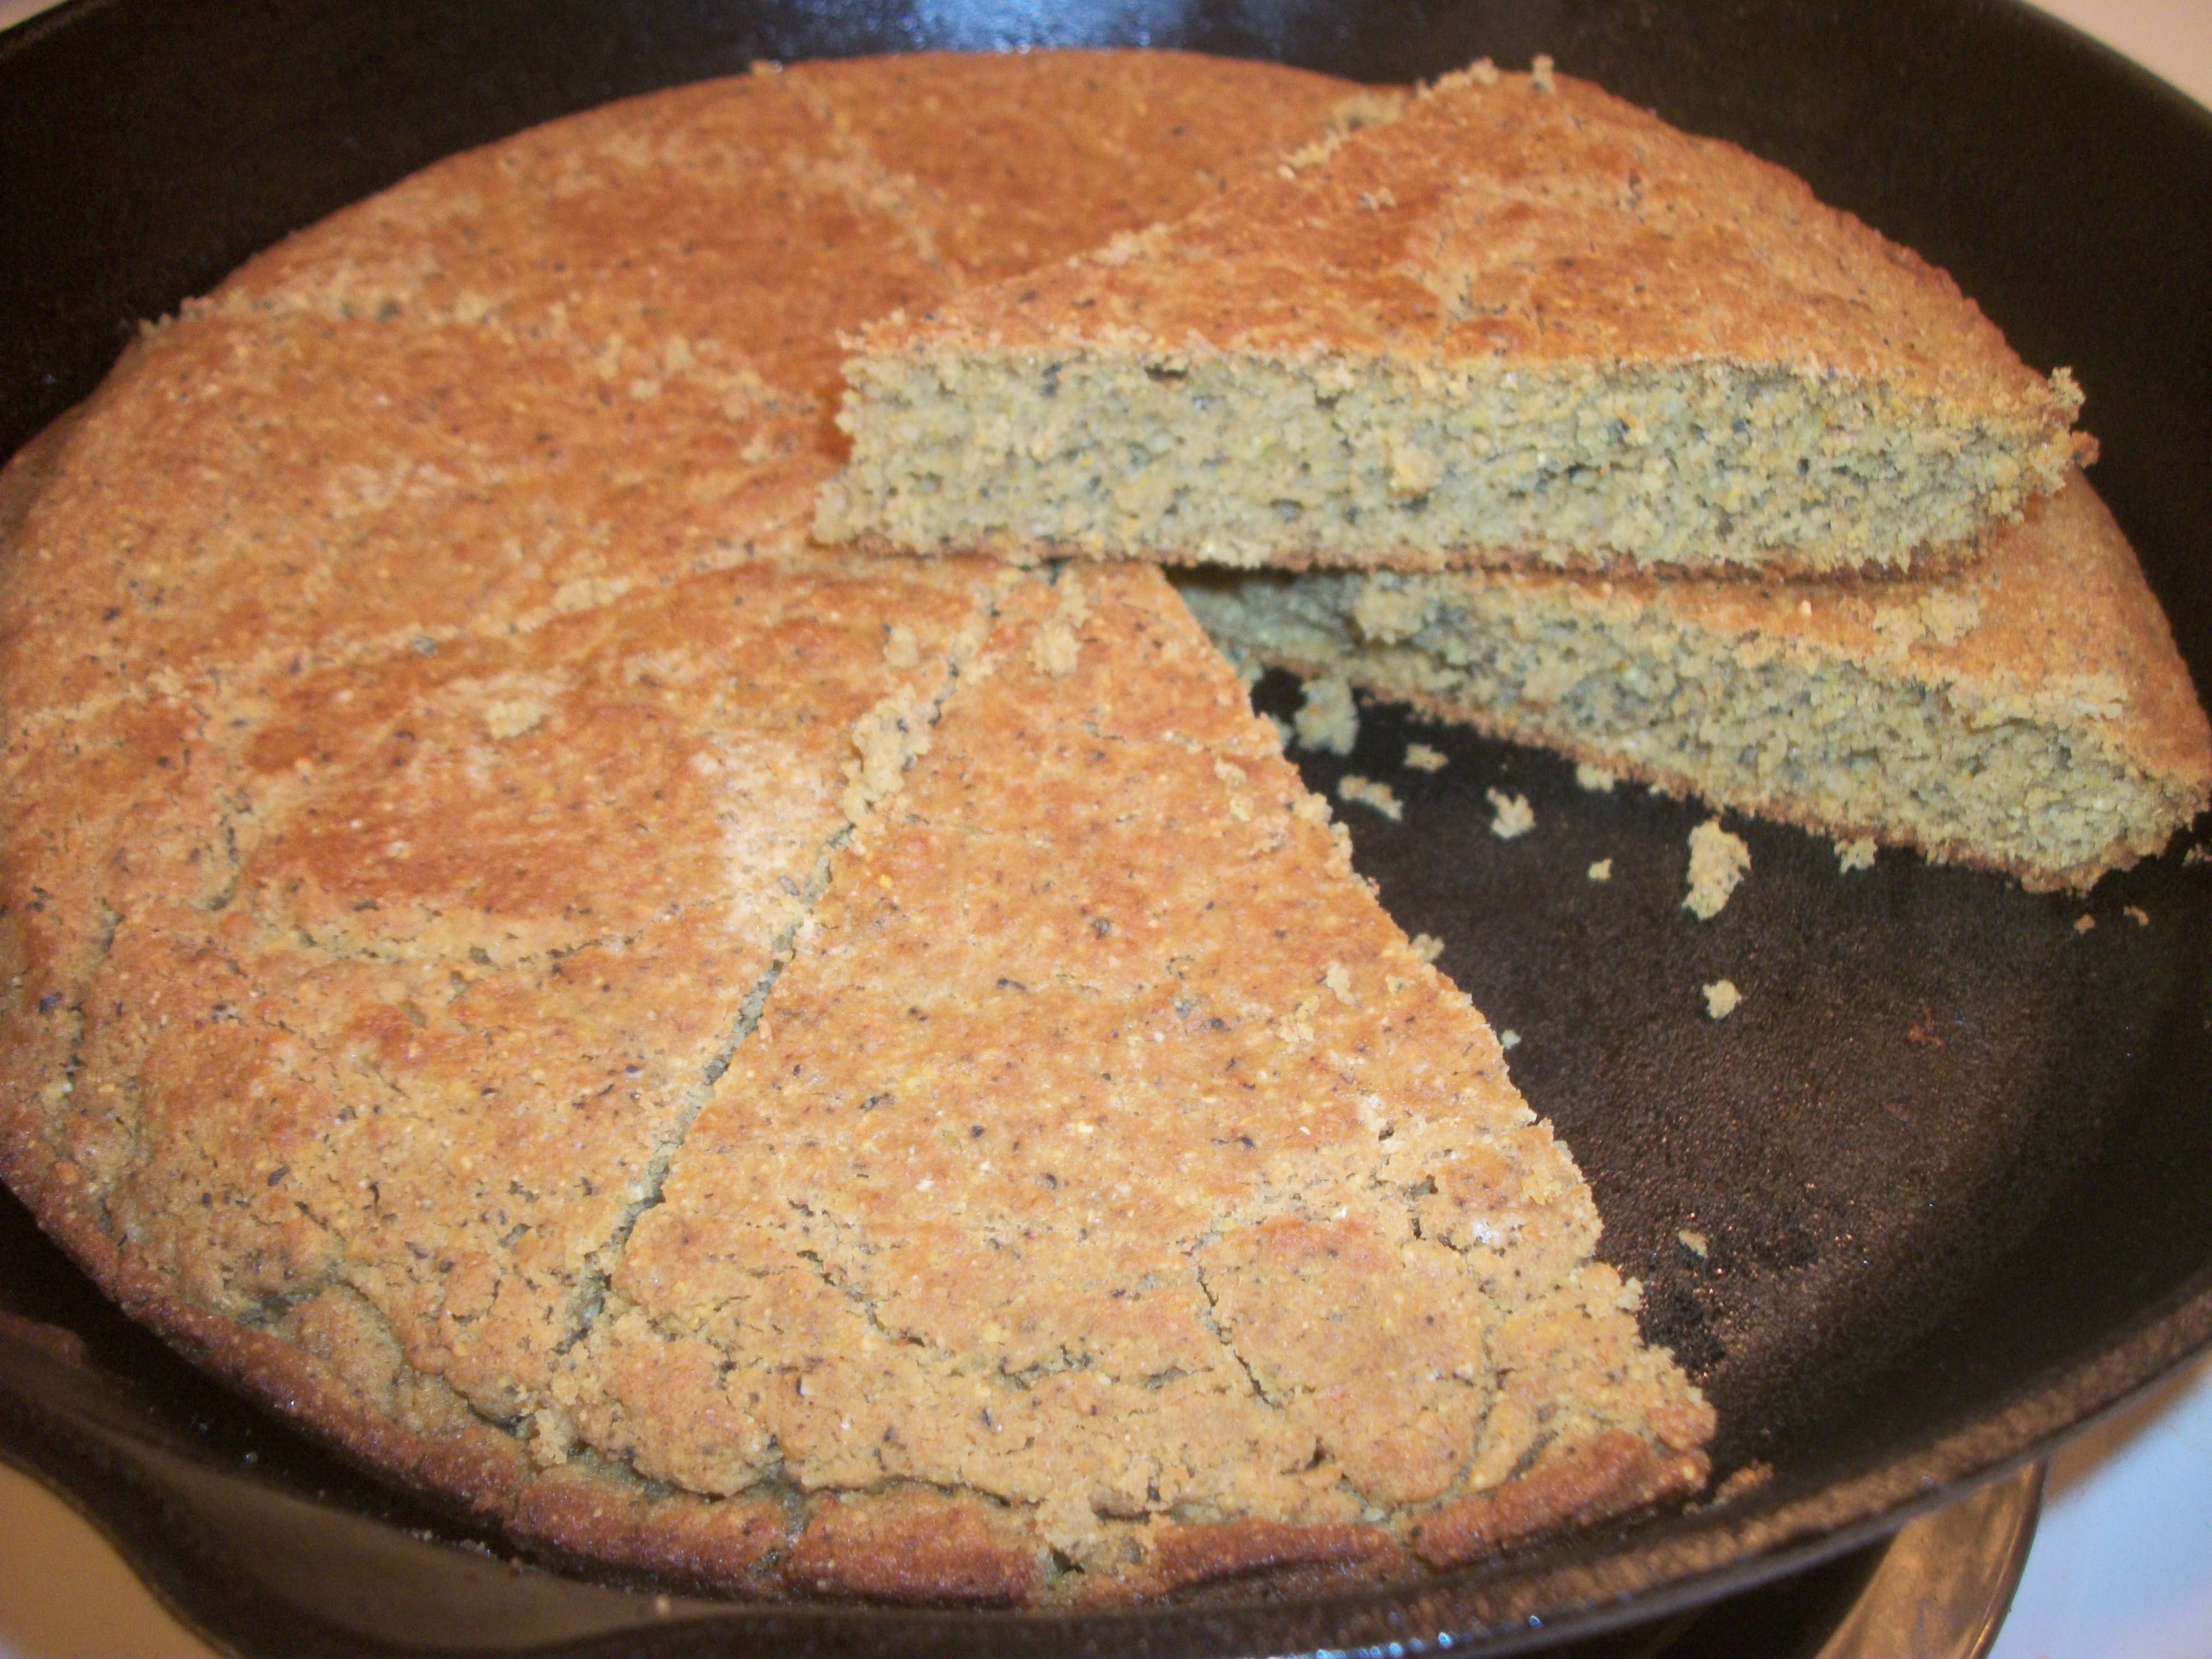
Healthy Cornbread - Whole grain, low fat, and dairy free!
- 1 cup cornmeal
- 1 cup whole wheat flour
- 1 cup water
- 1 tablespoon apple cider vinegar
- 5-8 tablespoons maple syrup (see note)
- 1 tablespoon double acting baking powder
- ½ teaspoon baking soda
- 1 egg
- 2 tablespoons oil
- ½ cup applesauce
- 1 teaspoon sugar for sprinkling, optional (see note)
- 1 tablespoon vanilla, optional (see note)
- Preheat your oven to 400°F or 200°c. Once preheated add in a large cast iron skillet or a metal baking tray and preheat for another 5-10 minutes.
- In a large mixing bowl add in all your dry ingredients, mix well, and set aside. In another bowl mix all your wet ingredients except 1 tablespoon of the oil. Set these aside until your skillet or pan is heated.
- After the 5-10 minutes of preheating your skillet, carefully remove it from your oven and add in your 1 tablespoon of oil. Use a brush if available to spread the oil around the bottom and sides to prevent sticking, this also creates a very yummy crust.
- RIGHT before adding it to the pan completely mix the wet into the dry ingredients removing any lumps. Add the mixture from a height to remove large air bubbles and make sure it coats the bottom of the pan. Return to oven and bake 30-35 minutes or until a toothpick comes out clean.
- Let cool in pan 20 minutes and enjoy!
In this recipe I used maple syrup. You can replace it with honey or another liquid sweetener if you choose. If you would like to use sugar you'll need to add ½ cup to ¾ cup depending on sweetness and another ¼ to ½ cup of water to adjust the consistency. For a mild tasting cornbread only add 5 tablespoons of maple syrup (even then it's slightly sweet), this is great for mixing with spicy chili. If serving as more sweet add 8 tablespoons maple syrup.
I used about 1 teaspoon of sugar to sprinkle on the top because it makes the top crunchy, this is totally optional and usually I don't do it!
I don't normally add vanilla but if you want a more dessert tasting cornbread add 1 tablespoon of real vanilla extract.
Serving size: 1 slice Calories: 170 Fat: 5 Saturated fat: 3 Unsaturated fat: 1 Trans fat: 0 Carbohydrates: 28 Sugar: 9 Sodium: 261 Fiber: 3 Protein: 4 Cholesterol: 26
3.2.2925
Desserts / Recipes / Vegetarian
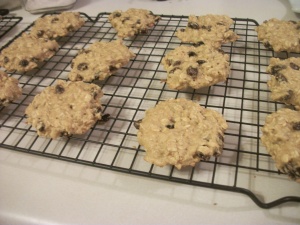
Healthy Oatmeal Raisin Cookies - Dairy Free
- 1½ cups rolled oats, uncooked
- ¾ cup all purpose flour*
- ¼ cup plus 2 tablespoons whole wheat flour*
- 1 teaspoon baking powder (double acting is best)
- 1 egg
- ¼ cup maple syrup
- ¼ cup cane sugar**
- 1 teaspoon molasses (optional but makes it more chewy)
- 1 tablespoon vanilla extract, only the real stuff please
- 2 tablespoons neutral oil, I used coconut
- ½ cup unsweetened applesauce
- 1 unpacked cup raisins***
- Preheat to 350°F or 175°C.
- This step is optional but if you want softer raisins I would advise it. Mix all your liquid ingredients (minus the egg) and let it soak for 20-60 minutes. You can go overnight but they get really soft and I dislike that. I did mine for only 10 minutes and that was good for me.
- Next mix all your dry ingredients in your bowl and then add your raisin mixture and egg. Use a spatula to mix (or a spoon) thoroughly. It is a thicker batter so don't be alarmed.
- Line your cookie tray with parchment paper or a silicone baking mat. Spoon out a rounded tablespoon per cookie and squish them down. These cookies will rise slightly but will not spread outward. I suggest no more than 12 per tray.

- Bake these cookies for 12 minutes and move to a wire rack to cool. They get chewier as they cool.
Variations:
* : You can use all whole wheat flour or all all purpose flour it's a person preference. Whole wheat flour will make the cookies more dense. I would do no more than ½ and ½ but that is me.
** : You can use all sugar or you can skip the sugar and just use maple syrup (or honey). Brown sugar would be best but I used evaporated cane sugar and molasses.
*** : You can substitute raisins for any dried fruit to mix this up. Try blueberries and craisins, Delicious!
Serving size: 3 cookie Calories: 90 Fat: 2 Saturated fat: 1 Unsaturated fat: 1 Trans fat: 0 Carbohydrates: 16 Sugar: 8 Sodium: 23 Fiber: 1 Protein: 2
3.2.2925
Uncategorized
 Making homemade granola these days is not selective to hippies guys! I love to make granola and other breakfast treats all the time and its super simple, but best of all, you tend to save tons of money! What could honestly be better than that. If you have 30-35 minutes, granola is easily within your reach. This recipe is also very basic, you can add 1/2 cup crushed up nuts or seeds (flax and walnut is a great combination), you can toss in dried fruits when the granola is done or you can leave it plain for sprinkling ontop of yogurt. (that’s what I like to do! =)
Ingredients:
4 cups old fashioned oats (not oat groats, not quick cooking oats, not steel cut oats)
1/4 cup olive oil
pinch salt (optional)
1 T vanilla extract (use the good stuff, you’ll thank yourself later)
1 T evaporated cane sugar or raw sugar
1 /4 cup + 1 tablespoon honey  (5 tablespoons total)  (use maple syrup for vegan version)
2 tablespoons water
Directions:
Preheat your oven to 350 degrees Fahrenheit (180 degrees Celsius).
In a large bowl add in everything except the oats. Mix well. Add your oats 1 cup at a time and stir well. (don’t be afraid to use your hands, it really works best) After you have all your oats mixed in, let it sit for a couple minutes. 2-5 minutes is a long enough, very easy to do while your oven preheats.
Once your oven is preheated, take a full sheet pan and evenly spread your oat mixture on it. Pop it in the oven for 15 minutes.

(Above photo is granola mix about to go into the oven)
After 15 minutes take the pan out of the oven and stir/flip the oats with a flat spatula. Put it back in the oven for 15 more minutes.

(Above photo is granola mix after 15 minutes in the oven)Take the granola out of the oven again and stir.

(Above photo is granola after 30 minutes, some dark bits and perfect for me)
Depending on your personal taste you can stop now. If you want it darker, continue cooking in 5 minute intervuls instead you reach your desired doneness.
Prep time: 2-5 minutes  Cook time: 30-40 minutes Serves: 4 cups
allergies: honey***, oats**
**Can be gluten-free if you make sure you purchase gluten free oats!
***vegan friendly if you it without honey, maple syrup instead.
And you’re done! See how easy that was. You now have a healthy breakfast treat that costs next to nothing to make and little time spent. A traditional basica granola in a health food store costs $4.99 a pound, YIKES! However, this granola only cost me :
Oats: 53¢
olive oil: 25¢
salt & Sugar: 5¢
vanilla (homemade): 5¢ (store bought would be more like 40¢)
honey: 45¢
Water: free (my water bill is paid)
If we total that up we’re looking at a grand total of….  $1.33 for 4 cups of granola. Talk about saving money. That’s an approx savings of  $8.50! Even if you add in nuts and seeds, you will still save money compared to the granola at the health food store.  Assuming you used 1/4 cup of both flax seeds and walnuts and they were organic, you’re still only looking at about 1.50-2.00 more dollars. Oh and all the above ingredients were purchased organic except my homemade vanilla (purchased many years ago before I cared about organic, and bought in bulk. I got 5 pounds for only 25.00!)
I hope you will try this easy granola and let me know in the comments what YOU would put with it. Me personally, I enjoy my granola with some unsweetened almond milk or on-top of organic Greek yogurt with fresh seasonal fruits, yum yum!